Complete Beeswax Candle Care Guide: Keep Every Candle Burning Like New
Complete Beeswax Candle Care Guide: Keep Every Candle Burning Like New
You finally upgraded from the grocery store candle section. You spent real money on a 100% beeswax candle, brought it home, lit it for thirty minutes because you had to leave, and came back to a sad little tunnel bored straight through the center. All that wax on the sides, perfectly intact, going absolutely nowhere.
That is not a defective candle. That is a candle that needed about ninety more minutes on the first burn. And it is a fixable problem, as long as you know what you are doing.
This beeswax candle care guide covers everything: the tools worth buying, the techniques that actually work, how to store your candles between burns, and how to rescue a candle you thought was ruined. Whether you already own a collection of MBur beeswax candles or are just getting started, this is the maintenance playbook that makes the difference between a candle that lasts and one that wastes half its wax.
Why Beeswax Needs Different Care Than Soy or Paraffin
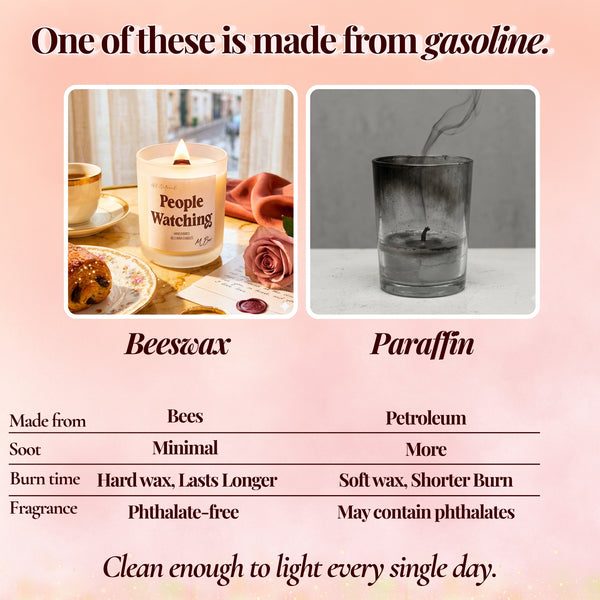
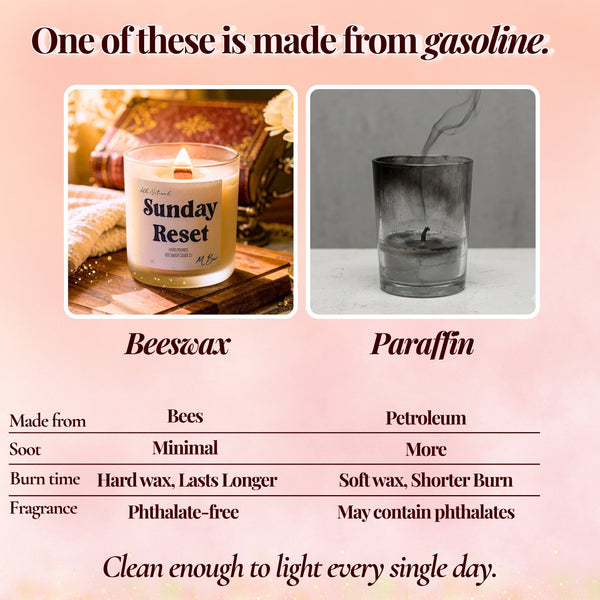
Most candle care advice was written for paraffin, which is petroleum waste that melts at a low temperature and forgives a lot of bad habits. Beeswax is a completely different material, and it behaves accordingly.
Beeswax has a melting point around 145 degrees Fahrenheit, compared to roughly 120 degrees for soy and even lower for paraffin. That higher melting point is exactly why beeswax burns so much longer. It also means the candle burns hotter, requires a thicker wick, and is less forgiving when you cut a burn session short.
Beeswax is also naturally hard and dense, which allows for a technique called hugging (more on that below) that simply does not work with softer waxes. And because beeswax is a single ingredient wax with no chemical processing, it develops something called bloom over time, a whitish powdery film on the surface that is a sign of purity, not a problem.
Understanding these differences is step one. Once you know how the material behaves, the care instructions stop feeling like rules and start feeling like logic.
The Essential Candle Care Toolkit
You do not need a lot of tools. You need the right ones. A good wick trimmer, a wick dipper or snuffer, and a sense of how long to burn each session will handle ninety percent of candle maintenance.
Wick Trimmers
A wick trimmer has an angled blade and a small catch tray that grabs the snipped carbon cap before it falls into your wax pool. This matters more with beeswax than other waxes because the denser wax makes it harder to fish debris back out once it sinks.
The Wickman Wick Trimmer (available in rose gold or matte black, ) is the most practical option. Wickman makes candle accessories exclusively, and their blades are sharp enough to cut through the thick cotton braid wicks common in beeswax candles. For something more decorative, the Diptyque Gold Wick Trimmer is a luxury pick that functions identically but looks expensive sitting on your coffee table.
If you want to keep it simple, the Yankee Candle Perfect Wick Trimmer is widely available and gets the job done.
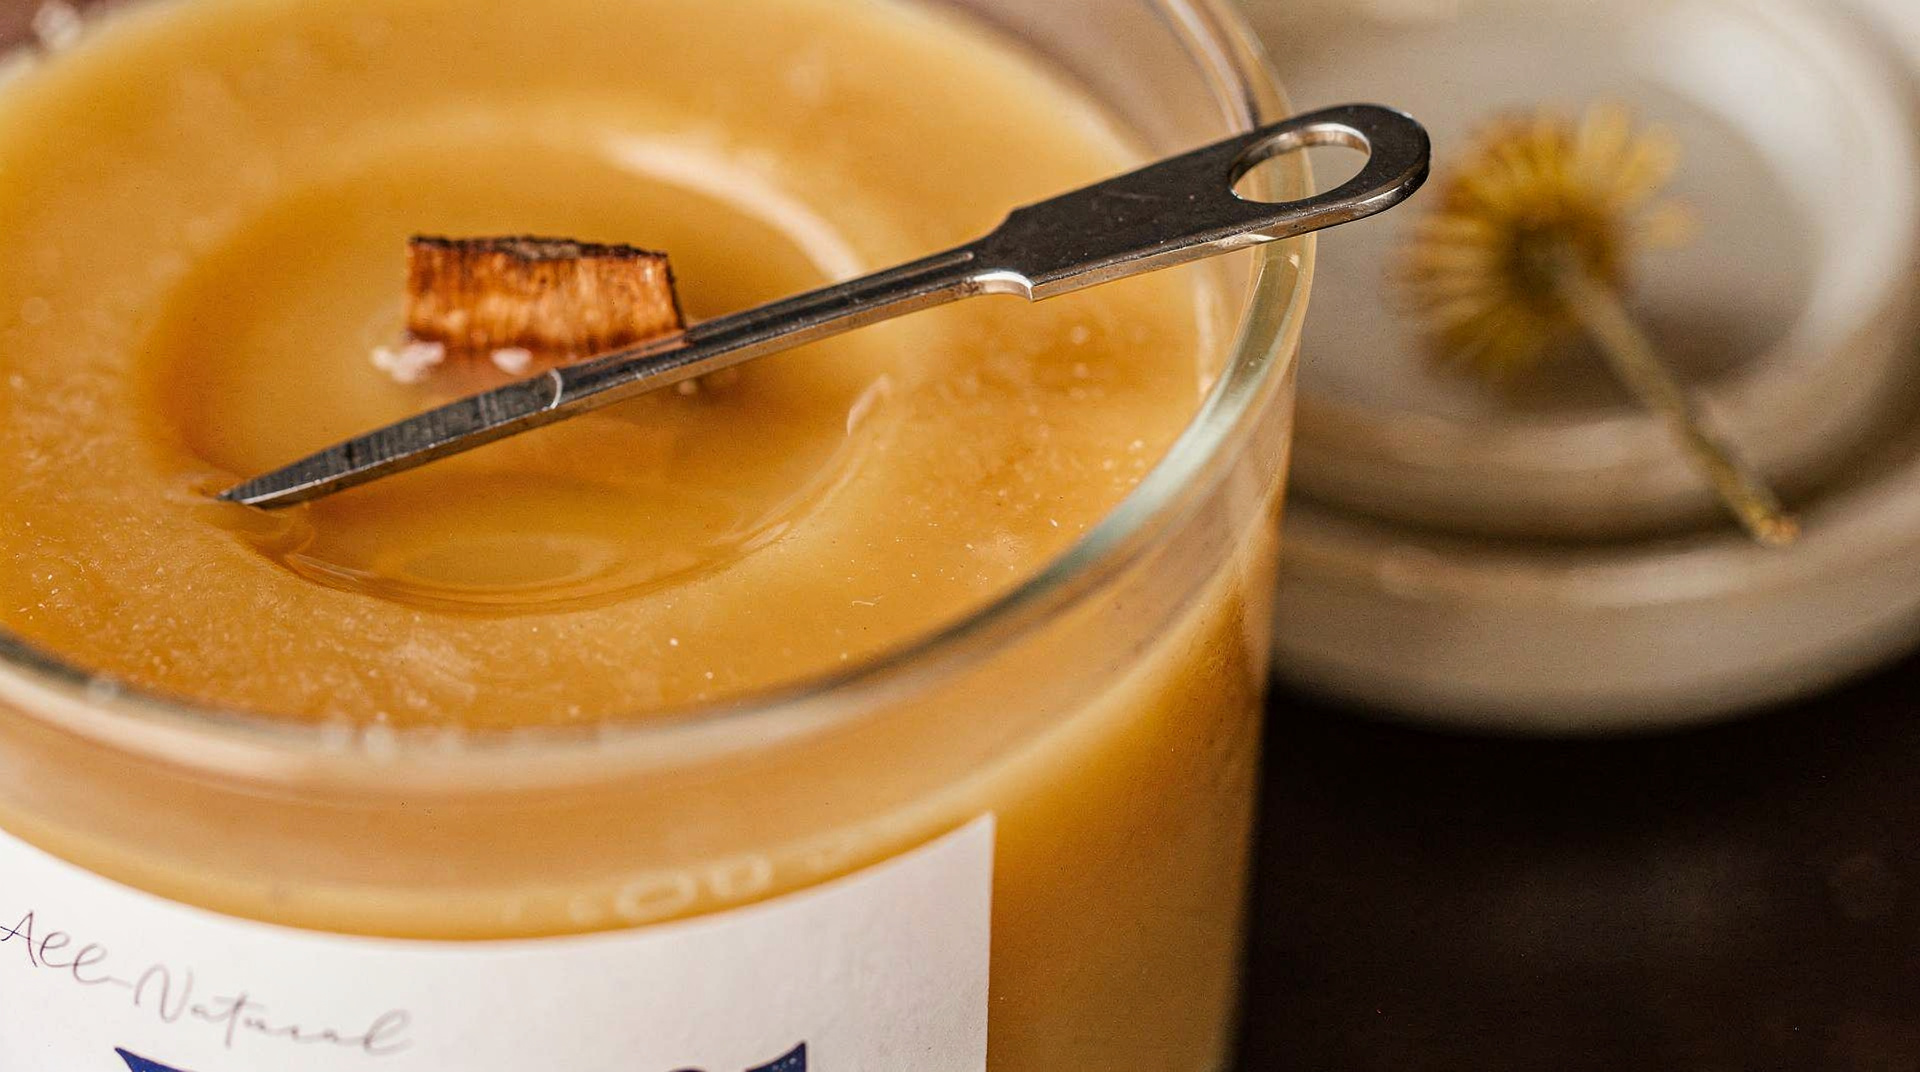
Wick Dippers
Blowing out a beeswax candle is the wrong move. It sends smoke into the air, masks the natural honey scent you just spent hours releasing, and can knock the wick off center. A wick dipper is a long metal rod with a hooked end. You use it to push the burning wick down into the wax pool until the flame goes out, then pull the wick back up before the wax sets.
This method extinguishes without smoke and coats the wick in fresh wax, making it easier to light on the next session. The Wickman Wick Dipper runs about $5 to $8 and is often sold in sets.
Bell Snuffers
For taper candles where dipping is not practical, a bell snuffer starves the flame of oxygen without blowing. The Wickman 3 Piece Candle Care Set (trimmer, dipper, and bell snuffer together for ) is the most cost effective way to get everything you need at once.
The Non Negotiable Rules of Beeswax Candle Maintenance
Rule 1: The Memory Burn
The first burn is the most important burn. Beeswax wax will only melt outward as far as it did during that initial lighting. If you cut the first session short, the candle forms a memory of that smaller melt pool and will tunnel straight down for the rest of its life.
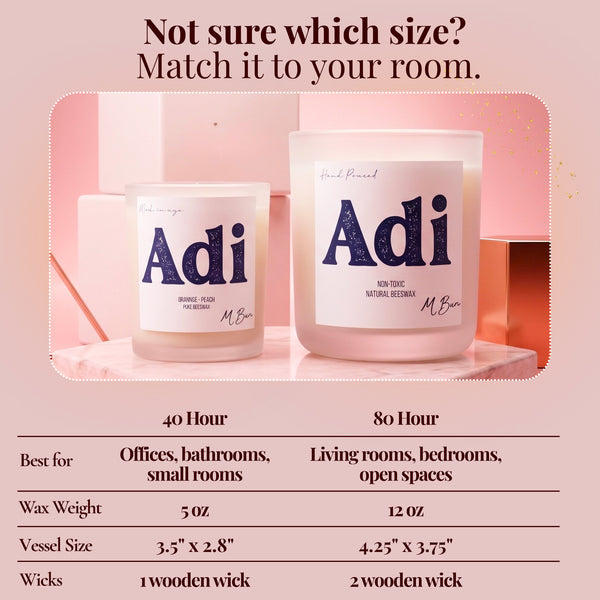
The rule is one hour for every inch of diameter. A three inch wide candle needs at least three hours on the first burn. A four inch wide candle needs four. Do not light a beeswax candle if you cannot commit to that window.
This applies to every candle in the MBur collection, including the 12oz 80 hour candles that run 60 dollars. That is a significant investment, and a proper first burn protects all of it.
Rule 2: Trim the Wick Before Every Single Lighting
Beeswax wicks mushroom faster than most because the candle burns hotter. That carbon ball at the tip of an untrimmed wick creates a larger, irregular flame that produces more soot and burns through wax unevenly.
The target length is one quarter inch, roughly 6mm. Trim before every lighting, not just occasionally. It takes about ten seconds and makes a noticeable difference in how clean and steady the flame burns.
One exception: some beeswax taper candles from brands like Bluecorn have wicks engineered to curl and self trim. Check the manufacturer instructions for your specific taper. For all container candles and pillars, the one quarter inch rule applies universally.
Rule 3: The Hugging Technique
This one is specific to pillars and high density beeswax candles, and it is genuinely satisfying once you get the feel for it. As the candle burns down, it leaves a thin outer wall of hard wax around the perimeter. Before that wax sets completely after extinguishing, while it is still warm and pliable, gently press the outer walls inward toward the melt pool with your thumbs.
This folds that excess wax back into the pool so it gets used on the next burn. Without hugging, that outer wall can crack and fall away, wasting a significant percentage of the candle. With it, you capture close to 100% of the wax over the life of the candle.
Rule 4: Burn Time Limits Per Session
The general ceiling is four hours per burn session. Beyond that, the melt pool gets too deep, the wick can start to drown, and the jar or vessel heats up to a point that creates uneven burning on the next session. Let the candle cool completely before relighting. For beeswax specifically, that means at least two hours of cooling time.
"From the packaging to the burn of the candle, everything was top notch! Candle burned slowly and was exactly the amount of hours the company said it would burn. I was able to enjoy it for days even though it was the smaller size." Portia Darby, 5 stars, MBur Retail Therapy Candle
That kind of burn performance does not happen by accident. It is a combination of quality wax and the right habits from the first lighting. If you want to see what that looks like across multiple scent profiles, the Retail Therapy beeswax candle starts at $32 for the 20 hour size and goes up to $60 for the full 80 hour 12oz version.
Troubleshooting: Fixing Candles That Have Already Gone Wrong
The Tunneling Fix
If your candle has already tunneled, do not throw it out. The foil method works surprisingly well.
Trim the wick and remove any debris. Wrap a layer of aluminum foil around the top rim of the candle, creating a loose dome over the surface. Leave a one inch opening at the top for the flame. Light the candle and let it burn for two to three hours.
The foil traps heat and raises the ambient temperature inside that small enclosure, which melts the hard outer walls down into the pool. After a few sessions with the foil, the surface levels out and the candle burns normally from that point forward.
The Drowning Wick
If the melt pool has gotten too deep and the flame is sputtering because the wick is submerged, extinguish the candle and carefully blot out excess liquid wax with a paper towel or cotton ball. Use your wick dipper to gently straighten the wick back to an upright position. Let everything cool and solidify before relighting.
Going forward, shorter burn sessions and better first burn discipline will prevent this from recurring.
Restoring Bloom
Bloom is that white, dusty looking film that appears on stored beeswax candles over time. It is the result of softer oils in the wax migrating to the surface, and it is a sign you have a high purity candle. Some people leave it because it looks vintage. If you want to remove it, buff the surface gently with a soft cloth or run a hair dryer on low heat across the candle for a few seconds. The bloom disappears and the warm golden color returns.
Beeswax Candle Storage: How to Protect Your Investment Between Burns
Beeswax does not expire. Candles recovered from ancient Egyptian tombs were still burnable. But modern beeswax candles still need reasonable storage conditions to maintain their shape and surface quality.
Temperature
Store beeswax candles in a cool, dry place below 80 degrees Fahrenheit. While beeswax has a high melting point, consistent heat, especially in a car during summer or near a radiator, can warp tapers and distort the surfaces of pillars. A closet shelf or a drawer away from windows is ideal.
What to Wrap Them In
Beeswax has a naturally tacky surface that attracts dust. Parchment paper or cotton cloth are the best wrapping materials for long term storage. Avoid plastic wrap for anything beyond a few days. In fluctuating temperatures, plastic can bond to the wax surface or trap moisture, neither of which does the candle any favors.
Keeping Tapers Straight
Taper candles stored horizontally can develop a curve over time, especially in warm conditions. Store them flat on a hard surface or keep them upright in a box with dividers. If you receive tapers that have a slight curve, run them briefly under warm water and gently straighten them by hand, then let them re set at room temperature.
Top Beeswax Candle Brands Worth Maintaining
The care protocol above works for any 100% beeswax candle. But not every candle on the market deserves the effort. Here are the brands we recommend alongside MBur for building a full beeswax collection.
Bluecorn Beeswax: Best Tapers
Based in Colorado and crafting candles since 1991, Bluecorn is the standard for hand dipped tapers. Their 12 inch pairs run and are dipped over 20 times for even layers. Their wicks are engineered to curl out of the flame, reducing the need for trimming. As noted above, check Bluecorn's specific guidance before trimming their taper wicks.
Sunbeam Candles: Best Pillars
Sunbeam operates out of a solar powered facility in Ithaca, NY, and specializes in dense, architectural pillars. A 3 by 4 inch pillar runs depending on size and can burn well past 80 hours with proper hugging and first burn discipline. These are the ideal candidates for practicing every technique in this guide.
Fontana Candle Co.: Best Jar Candles (Non MBur)
For jar candle buyers who want a non MBur option, Fontana uses a beeswax and coconut oil blend that prevents the cracking pure beeswax can cause in glass. Their unscented jar candles run and use wicks free from lead and zinc.
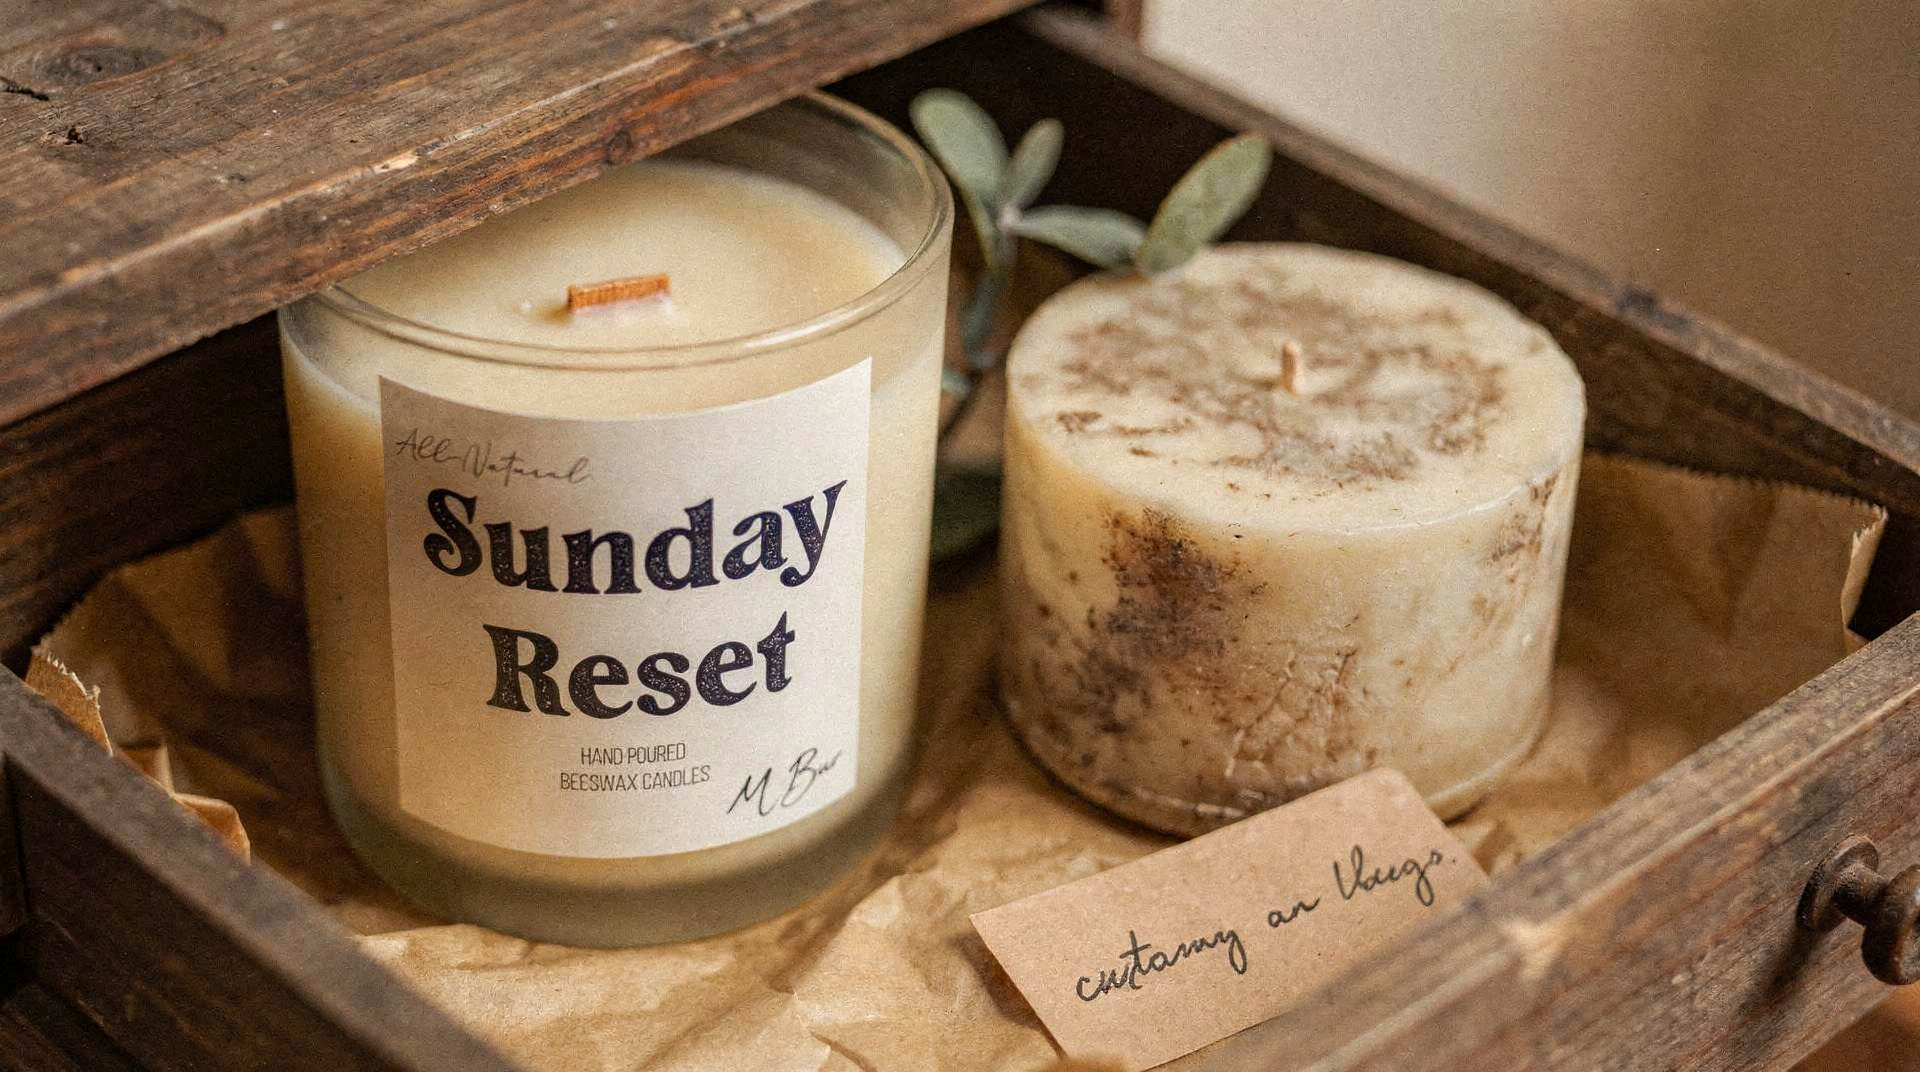
MBur Candle Co.: Best Scented Beeswax Jar Candles
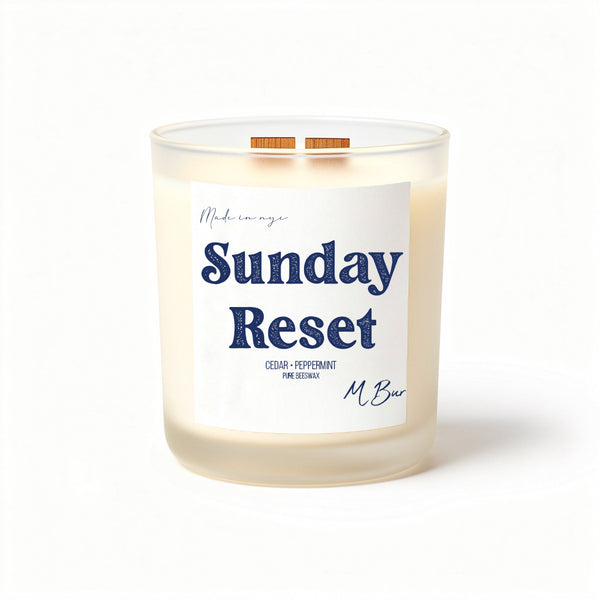
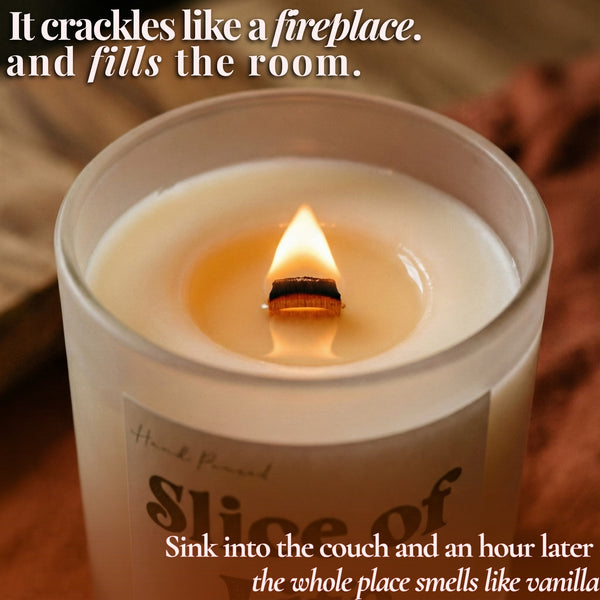
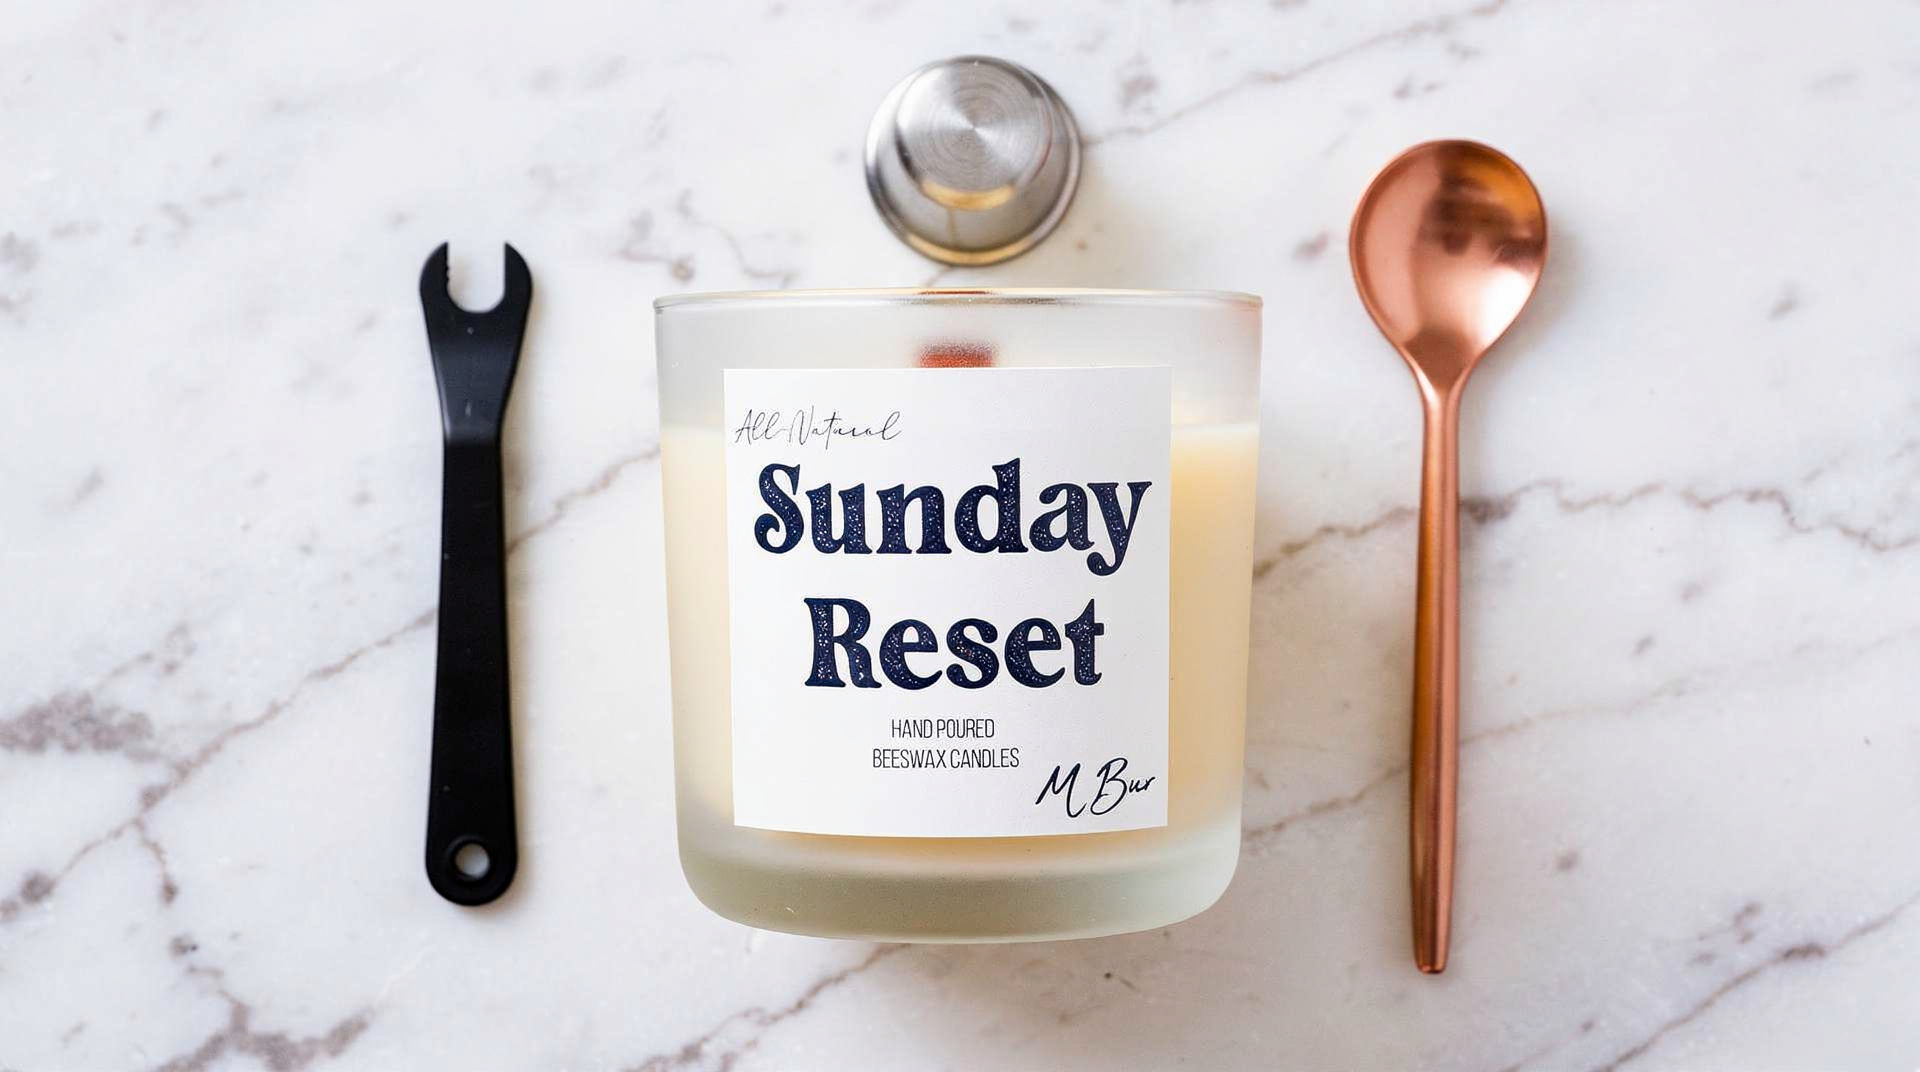
For scented beeswax candles in glass, MBur is the top choice in this guide. Every candle uses 100% beeswax with no blending, wooden wicks for an even burn and soft crackling sound, and phthalate free fragrance with no chemical dyes. The burn times are legitimate: the Sunday Reset beeswax candle in the 80 hour 12oz size runs $65 and holds its scent from the first burn to the last.
"I love this scent!!!! It has been getting me through my workday. I will definitely be reordering but going bigger next time!!!" Calvin P., 5 stars, MBur Sunday Reset Candle
Not sure which scent to commit to first? The MBur candle samples are $5 each and let you test a scent before buying the full size.
Frequently Asked Questions About Beeswax Candle Care
How often should I actually trim a beeswax candle wick?
Before every single lighting. Beeswax candles burn hot and form carbon mushroom caps on the wick faster than most other waxes. A trimmed wick at one quarter inch gives you a steady, controlled flame and a cleaner burn from start to finish. This applies to all the MBur wooden wick candles as well.
Why is my beeswax candle turning white?
That is bloom, and it is completely normal. It is a natural process where softer wax components migrate to the surface over time. It does not affect performance. If you want to remove it, buff with a soft cloth or hit it briefly with a hair dryer on low. If you want to read more about what makes beeswax unique as a material, check out our post on why beeswax candles are better than other waxes.
Can I fix a candle that has already tunneled?
Yes. The aluminum foil dome method described above works for most tunneled candles. Wrap foil loosely around the top of the candle with a one inch opening, light it, and let it burn for two to three hours. The trapped heat melts the outer walls back into the pool. Repeat if needed.
How long do beeswax candles last in storage?
Indefinitely, practically speaking. Beeswax is one of the most stable natural materials in existence. Store your candles below 80 degrees Fahrenheit, wrapped in parchment paper, away from direct sunlight, and they will be just as burnable in five years as they are today. The complete beeswax burn time guide covers exactly what to expect from different candle sizes.
Is there a difference in care between wooden wick and cotton wick beeswax candles?
Slightly. Wooden wicks burn differently from cotton wicks and sometimes require a slightly longer first lighting to get the full melt pool going. The trim length is the same: one quarter inch before every burn. Wooden wicks also tend to produce a lower, wider flame that is more affected by drafts, so burning in a draft free space matters more. For a deeper look at wooden wick behavior, see our guide to wooden wick candle problems and how to fix them.
The Payoff Is Worth It
Beeswax candles reward the people who pay attention. A proper first burn, a trimmed wick, a smoke free extinguish, and decent storage conditions are not complicated habits. They take maybe thirty extra seconds per candle session. In return, you get cleaner air, longer burn times, and candles that actually look and perform the way they should from the first lighting to the last.
If you want to put this guide into practice right away, the Sunday Reset beeswax candle (starting at $32 for the 20 hour size) is a great place to start. It fills a room, burns clean, and with proper care will outlast anything you have burned before.
"I cannot begin to express how amazing these candles are! All of a sudden I think I'm a candle connoisseur, telling my friends that they need to trim their wicks for a better burn. With them offering a plethora of scents, being made of 100% beeswax, and only using non toxic fragrances, I cant recommend these enough. My go to candle shop hands down!!" ty wills, 5 stars, MBur Candle Co.
Rated 5 stars across dozens of verified reviews. Start with a sample, commit to the full size, and follow this guide. Your candles will thank you for it.
Shop the full MBur beeswax candle collection and find your scent.
What buyers say:
Shop our candles