How to Properly Trim a Wooden Wick: The Guide Most Brands Skip
How to Properly Trim a Wooden Wick: The Guide Most Brands Skip
Most candle brands ship their product, include a generic "trim wick to 1/4 inch" card, and call it a day. That single line of advice works fine for cotton wicks. For wooden wicks, it is nearly useless without context.
Here is the thing: wooden wicks behave completely differently from cotton wicks. They draw wax through capillary action along the grain of the wood, they burn cooler at the tip than cotton does, and they are far more sensitive to the buildup of charred material. Ignoring those differences is exactly why so many people end up with a flame that sputters, drowns, or refuses to stay lit past the first burn.
This guide covers everything that most brands do not tell you. How to trim a wooden wick correctly, why the charred tip kills your flame, what tools actually work, and how to read your candle so you know when something is off.
Why Wooden Wicks Are Different (and Why That Matters)
Cotton wicks are designed to curl as they burn, which moves the charred tip away from the flame and allows it to self trim to some degree. Wooden wicks do not curl. They burn straight up, and the char stays exactly where the flame left it.
That charred material is porous and absorbs wax. The problem is that it does not transport that wax efficiently to the flame. Instead, it acts like a dam. The more char that builds up, the harder it is for fresh wax to reach the combustion zone. The result is a weak, sputtering flame or one that goes out entirely.
There is also a structural difference in how the wick draws fuel. A wooden wick relies on the porous structure of the wood itself to pull liquid wax upward. When the tip is charred and fragile, pieces of it can break off and fall into the melt pool, contaminating it. That can cause uneven burns, small black flecks in the wax, and in some cases a wick that shifts position over time.
None of this is a defect in the candle. It is just the physics of burning wood, and it responds perfectly well once you know what to do about it.
The Number One Mistake People Make
Skipping the trim entirely is the most common error. But the second most common is trimming the wick while it is still warm.
After a burn, the wick is fragile. The charred section is essentially compressed carbon, and when it is still warm it is softer and more likely to crumble unevenly or leave behind a rough, jagged edge. A jagged edge creates an uneven flame the next time you light it, which leads to hot spots, uneven wax pooling, and that sputtering behavior again.
Always let the candle cool completely before trimming. That usually means waiting at least two hours after extinguishing the flame. The wax should be fully solid and the wick should be room temperature before you touch it.
How to Actually Trim a Wooden Wick: Step by Step
Step 1: Let it cool
Full cool down. No exceptions. The wax should be opaque and firm, not soft at the edges. Two hours is a safe minimum after a full burn session.
Step 2: Identify where to cut
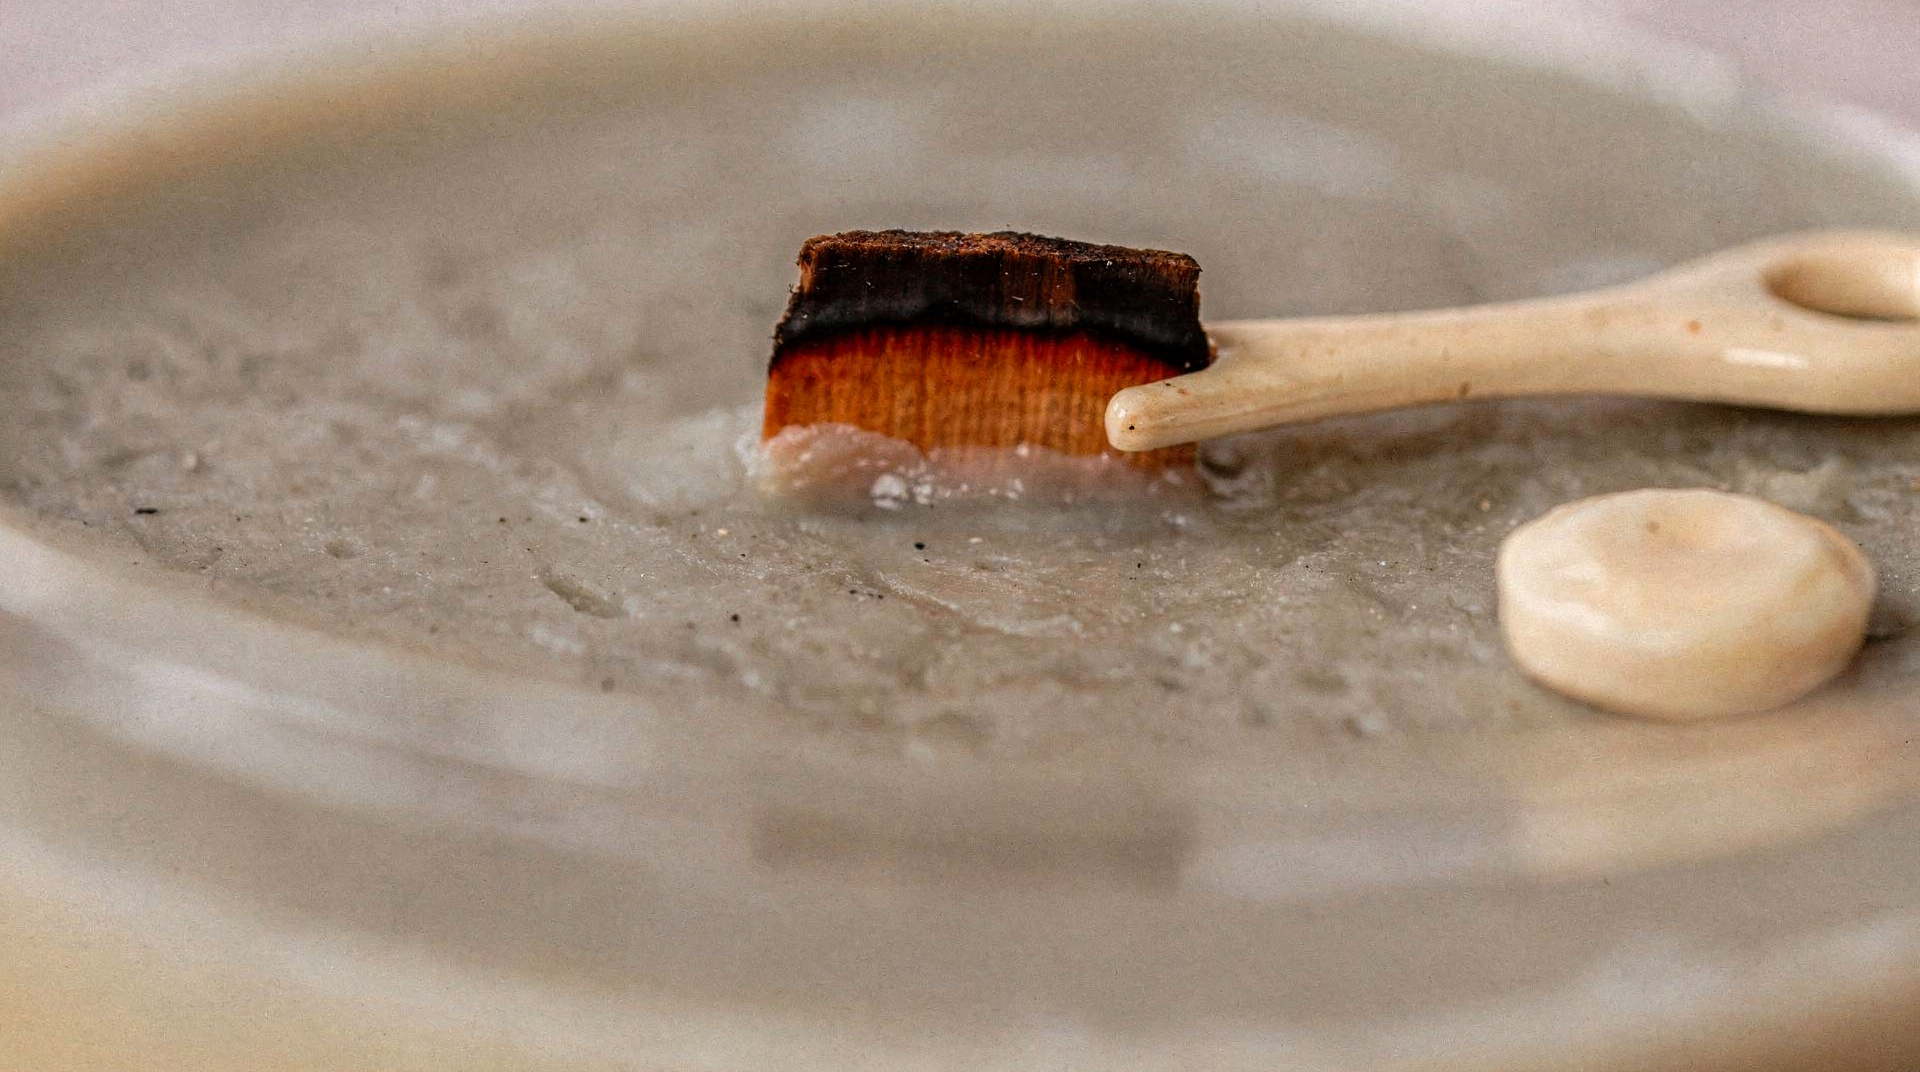
You are looking for the line where the blackened, charred section ends and the lighter, unburned wood begins. That transition point is usually between 1/8 inch and 1/4 inch from the base of the wick. Your goal is to remove all of the char and leave only clean wood behind.
If the wick is very short, around 1/8 inch or less of clean wood remaining, do not trim further. Light it as is and monitor the first few minutes of the burn closely. It should catch and establish a steady flame within about 30 seconds.
Step 3: Use the right tool
Fingernails work in a pinch, but they leave an uneven break that creates problems on the next burn. A pair of small, sharp scissors works well. Nail clippers work surprisingly well too, especially for candles that are deeper into the vessel and harder to reach with scissors.
The goal is a clean, flat cut. Not a pinch, not a tear. A cut. The flatter the top of the wick, the more even the flame will be on the next light.
Step 4: Remove the debris
Once you trim the wick, do not leave the charred pieces sitting in the wax. They will melt into the wax pool on the next burn and create small black deposits that can affect scent throw and, over time, wax clarity. Tap the trimmed piece into a paper towel or use a small tool to lift it out.
Step 5: Check your wick height before lighting
The ideal wick height for most wooden wick candles is between 1/8 inch and 3/16 inch of clean wood above the wax surface. Higher than 1/4 inch and the flame will likely be too large, burning through wax too quickly and potentially creating excess smoke. Lower than 1/8 inch and it may struggle to stay lit.
What a Healthy Wooden Wick Flame Actually Looks Like
A well trimmed wooden wick should produce a low, wide flame. Not tall and narrow like a cotton wick. The flame spreads horizontally across the surface of the wick, which is part of what creates that soft crackling sound that wooden wicks are known for.
The crackling is caused by small pockets of moisture and natural compounds in the wood releasing as they combust. It is not a sign that something is wrong. It is exactly what is supposed to happen, and it is one of the reasons wooden wick candles have such a different sensory quality compared to cotton wick alternatives.
A flame that is tall and flickering, narrow and struggling, or producing visible black smoke is a signal. Tall and flickering usually means the wick was not trimmed enough. Narrow and struggling usually means too much char was left behind. Black smoke usually means the wick is too long, the candle is in a draft, or there is contamination in the melt pool.
How Often Should You Trim?
Every single burn. Without exception.
This is the discipline most people skip after the first few uses, and it is the single biggest reason wooden wick candles underperform over time. The charred buildup does not disappear between burns. It accumulates. A wick that looked fine after the third burn can be genuinely problematic by the sixth if it has never been trimmed between sessions.
Building it into a ritual helps. Before you light your candle, trim the wick. It takes about thirty seconds and it is the difference between a candle that performs beautifully from the first burn to the last and one that disappoints you halfway through.
The First Burn Rule Still Applies
Trimming matters even more on the very first burn. The wick on a new candle has never been lit, but it still needs to be at the correct height. Most candles arrive with a wick that is slightly too long for optimal performance because it needs to be long enough to light easily after shipping and handling.
Before your first burn, trim the wick to about 3/16 of an inch. Then burn the candle long enough for the melt pool to reach the edges of the vessel. For most sizes, that is between two and four hours. Skipping this step creates tunneling, a narrow channel that forms down the center of the candle and prevents it from ever burning evenly again.
Our guide to the first burn explains the mechanics of tunneling in detail if you want to go deeper.
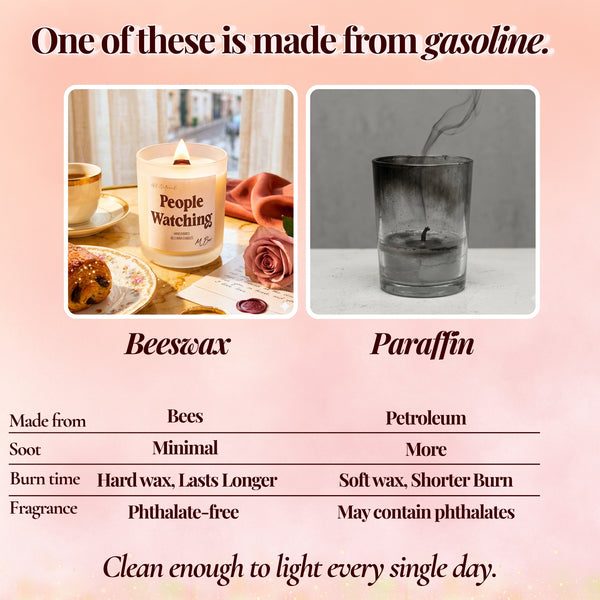
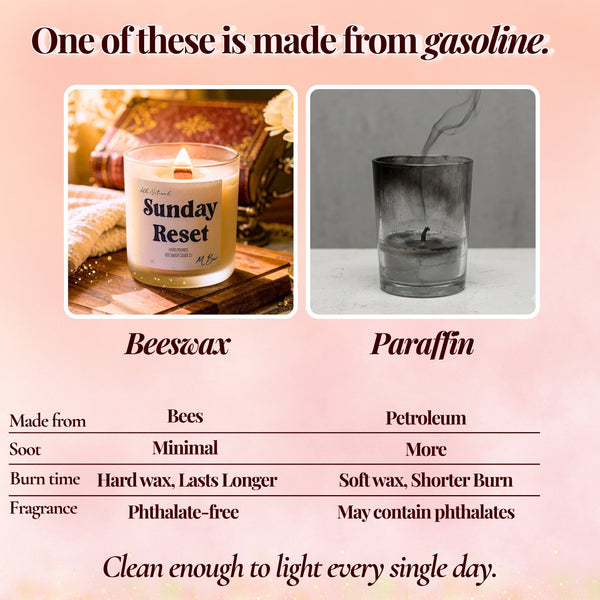
The MBur Difference: Why Wooden Wicks and Beeswax Are a Specific Combination
Most of the trimming advice online is written with paraffin or soy candles in mind. Beeswax changes the equation slightly because it has a higher melting point than either of those waxes. It takes longer to establish a full melt pool, it burns more slowly, and it holds its shape better around the wick during and after a burn.
That is actually good news for wick care. Because the wax contracts cleanly as it cools rather than leaving a soft, sticky residue near the wick, trimming is cleaner and easier. The char breaks off more predictably, and the flat cut stays intact better than it would in a softer wax environment.
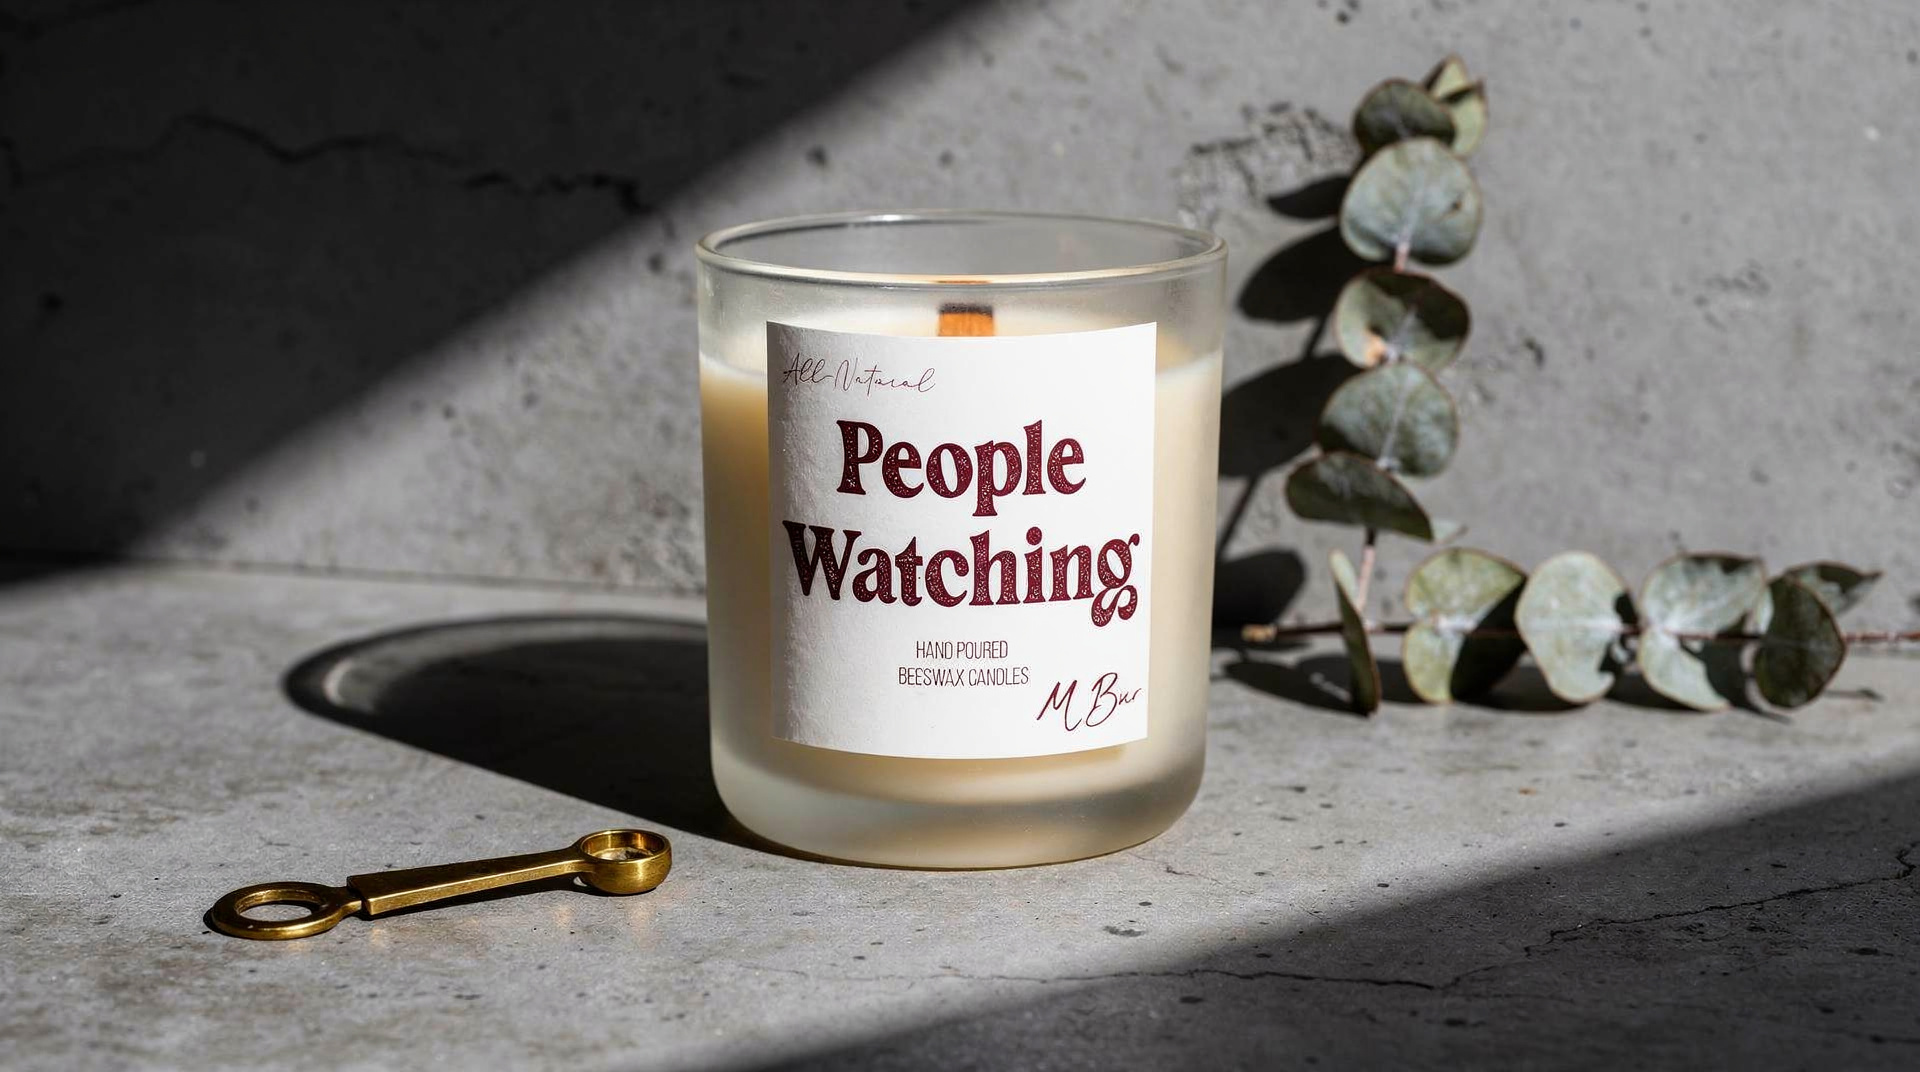
All MBur beeswax candles use wooden wicks specifically because of how the two materials work together. The slower, cooler burn of beeswax pairs with the wide, low flame of a wooden wick to produce even consumption from edge to edge without the tunneling or sinkholes that plague a lot of softer wax candles.
It also means the 80 hour burn time on the 12 oz size is a real number, not a best case scenario estimate. But only if the wick is maintained correctly. A neglected wick on any candle, including ours, will shorten its effective lifespan.
"From the packaging to the burn of the candle, everything was top notch! Candle burned slowly and was exactly the amount of hours the company said it would burn. I was able to enjoy it for days even though it was the smaller size." Portia Darby, Wine Down Candle
That kind of result comes from a combination of quality materials and proper wick care. The candle does its part. You do yours.
What to Do When Your Wooden Wick Will Not Stay Lit
Too much char on the wick tip
Trim further back than you think you need to. Remove all charred material until you are looking at clean wood. Even if the remaining wick looks short, clean wood burns better than charred wood at any height.
Wick is too short to light
If the wick has burned down very close to the wax surface and there is not enough exposed wood to catch, try warming the area around the wick gently with a lighter held at a slight distance before attempting to light. This softens the surrounding wax and can help the wick draw fuel more efficiently during initial ignition.
Drafts
Wooden wick flames are more sensitive to airflow than cotton wicks because the flame profile is lower and wider. A fan, a vent, or even a slightly open window across the room can disrupt the burn. Move the candle to a still location and see if the behavior changes.
Too much fragrance load in the wax
Candles made with a high fragrance load, particularly those using toxic fragrance compounds, can create a wax that is too dense for the wick to pull efficiently. This is another reason to pay attention to what is actually in your candle, not just what it smells like.
Old wax near the bottom of the vessel
As a candle burns down, the wick is working against a greater column of wax. This is normal, but it means the last 20 percent of any candle requires slightly more attention. Keep the wick clean and the burn sessions slightly shorter than you would earlier in the candle's life.
Frequently Asked Questions
How short is too short when trimming a wooden wick?
If you trim down to less than 1/8 inch of clean wood above the wax surface, you are in territory where the candle may struggle to light. The sweet spot is between 1/8 inch and 3/16 inch. If you accidentally go too short, warm the area around the wick slightly before lighting and give it a little extra time on the first ignition attempt.
Can I use regular scissors to trim a wooden wick?
Yes, small sharp scissors work well. Nail clippers are actually ideal because they make a clean flat cut and can reach into deep vessels easily. Avoid tearing or snapping the wick by hand if you can, since that leaves an uneven surface that affects the flame shape on the next burn.
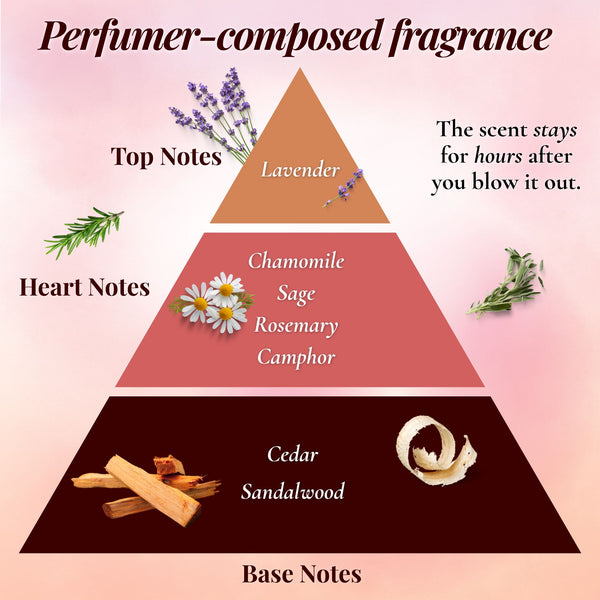
Why does my wooden wick candle smell like it is burning even after I blow it out?
That is normal and it is actually one of the qualities people love about beeswax candles specifically. The wax retains heat after extinguishing and continues to release scent from the warm melt pool for several minutes. If you are concerned about lingering smoke rather than scent, check that the wick was not too long before the burn.
How long should I burn my wooden wick candle each session?
The standard guidance is two to four hours per session. Long enough to achieve a full melt pool that reaches the edges of the vessel, but not so long that the wick overheats and the vessel becomes dangerously warm. Our complete candle care guide covers this and more.
Does trimming the wick affect the scent throw?
Indirectly, yes. A properly trimmed wick produces the correct flame size, which in turn creates the right melt pool depth and temperature. The right melt pool temperature is what drives fragrance diffusion into the air. A flame that is too small from an over trimmed wick will produce a shallow pool and weak scent throw. A flame that is too large from an untrimmed wick can overheat the fragrance compounds and cause them to burn off rather than diffuse, which also weakens scent throw over time.
The Short Version
Trim your wooden wick before every burn. Remove all charred material. Cut clean with a sharp tool. Let the candle cool completely before trimming. Keep the clean wood height between 1/8 and 3/16 of an inch. Do your first burn long enough to reach the vessel edges. That is genuinely all of it.
The candles that disappoint people are almost never bad candles. They are candles that were not cared for. A properly maintained wooden wick beeswax candle will outperform almost anything else in its category, and it will do it for a remarkably long time.
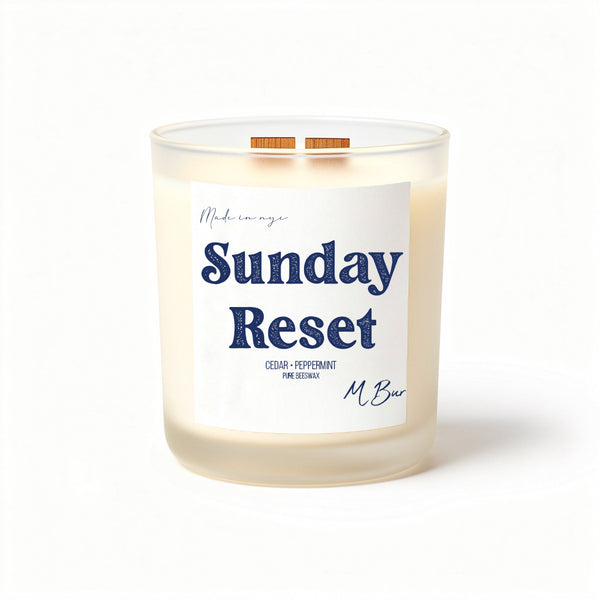
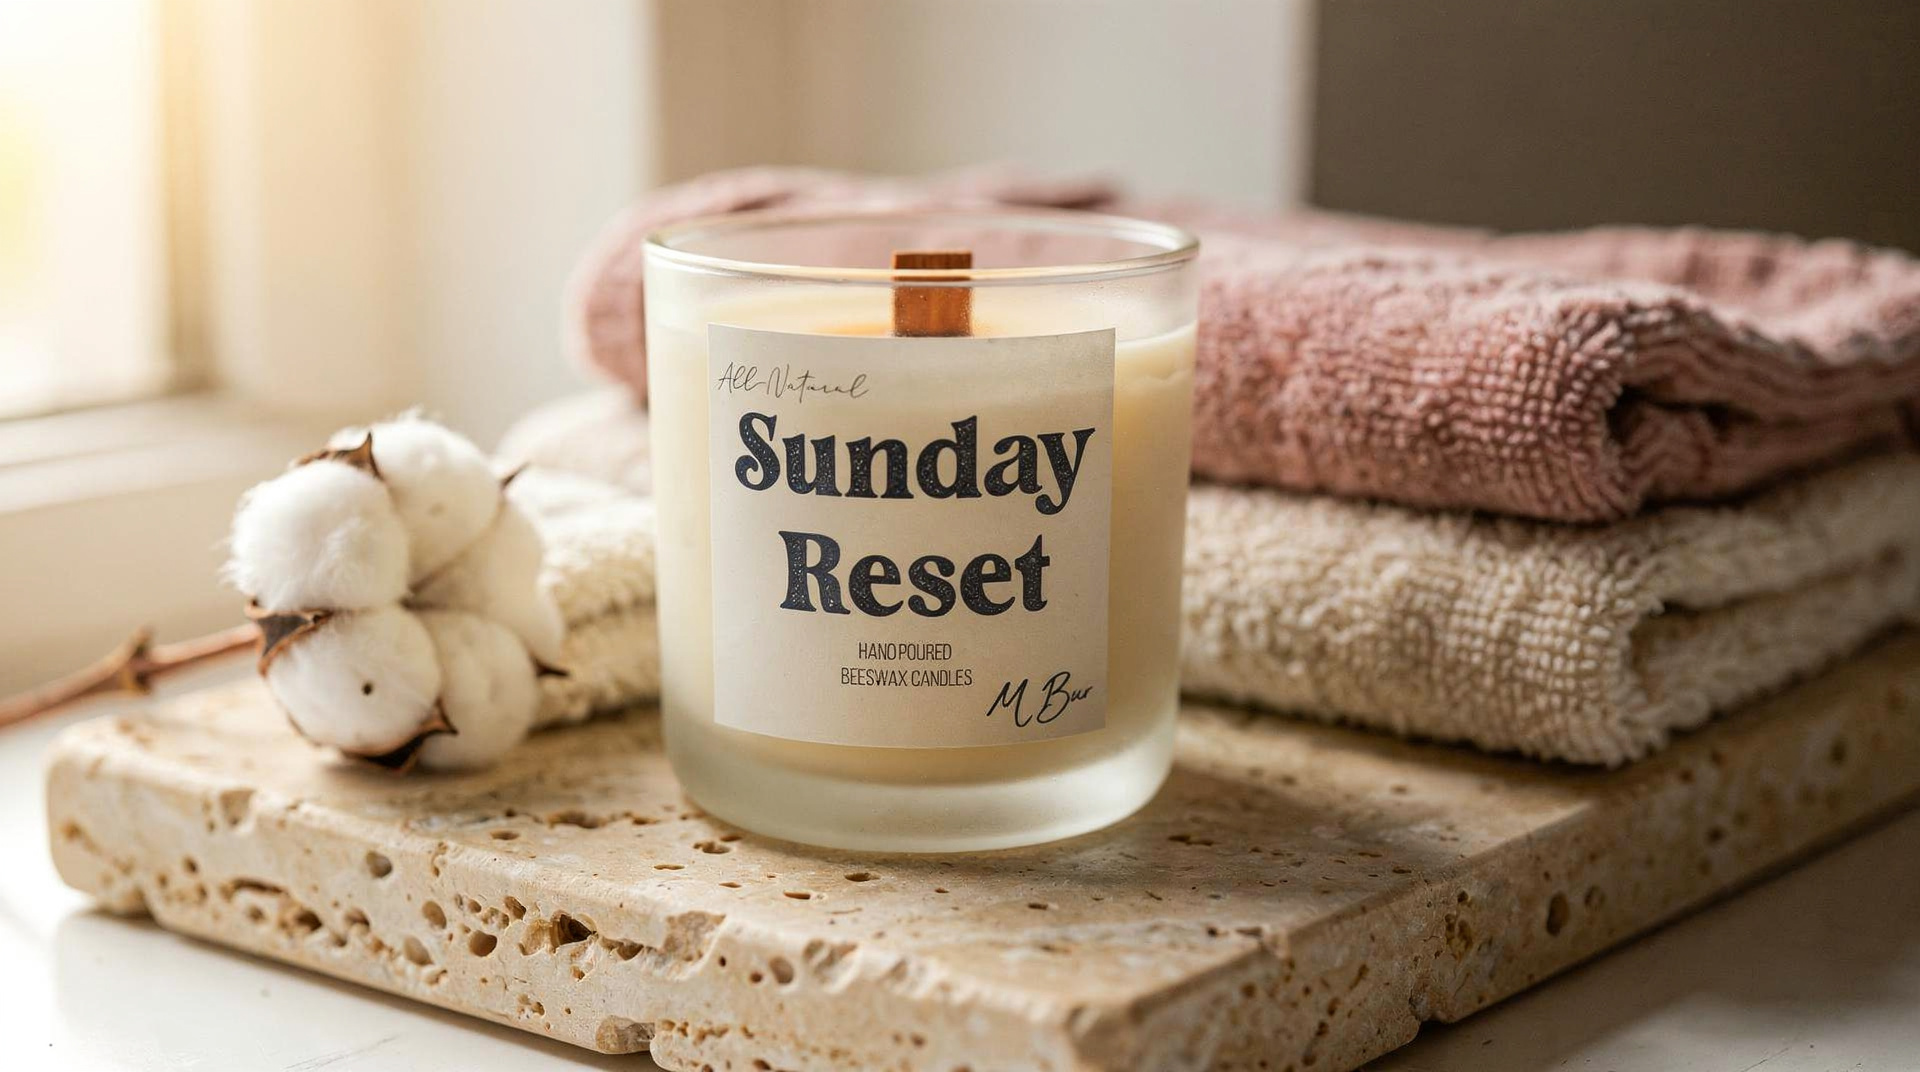
If you want to start with something that makes it easy to develop this habit, the Sunday Reset beeswax candle is a good entry point. Clean, sharp scent profile, wooden wick, and a burn time that gives you real room to practice proper care across multiple sessions.
Shop the full MBur beeswax candle collection
What buyers say:
Related reading:
Shop our candles