How to Fix a Tunneling Candle: The Complete Rescue Guide
How to Fix a Tunneling Candle: The Complete Rescue Guide
Paraffin candles waste, on average, 30 to 50 percent of their wax to tunneling. That means roughly half the candle you paid for never actually burns. It just sits there, hardened against the jar wall, completely unreachable by a flame that has given up and gone straight down the middle. And here is the wild part: most of that waste is completely preventable. Tunneling is not a random candle defect. It is the predictable result of a few specific mistakes, and nearly every case can be fixed or avoided entirely once you understand what is actually happening inside the wax.
This guide covers the real science behind tunneling, three proven methods to rescue a candle that has already started to tunnel, and the one habit that prevents it from happening again. We will also get into why the wax type in your candle matters more than most people realize, because not all wax behaves the same way when it melts.
What Tunneling Actually Is (And Why the Science Matters)
Wax has what chemists call a "melt memory." The first time you burn a candle, the wax melts to a certain diameter. When the candle cools and resolidifies, it remembers that boundary. Every subsequent burn tends to follow the same melt path, because the wax closest to the wick is now slightly more porous and lower in density than the wax farther from the wick.
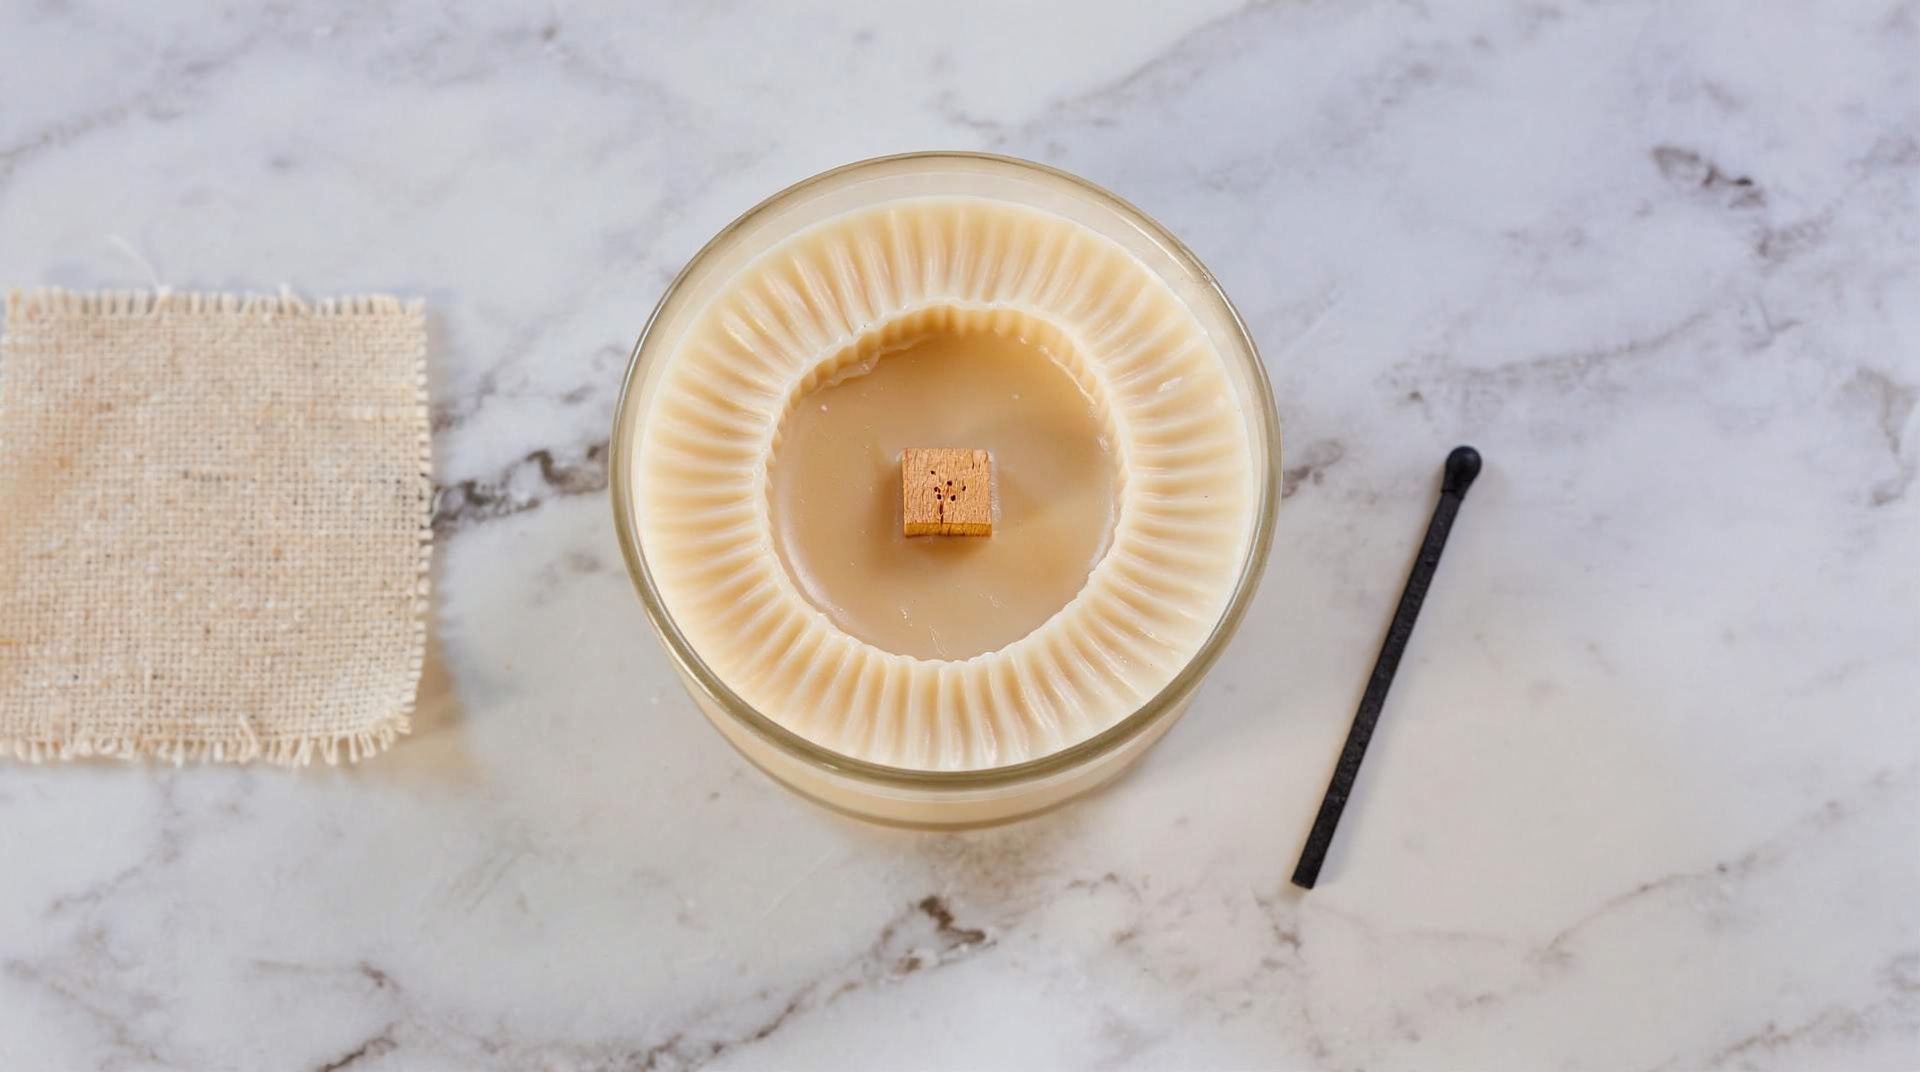
If that first burn is cut short before the melt pool reaches the edges of the container, the candle essentially sets a template for every future burn. The flame follows the path of least resistance straight down, and the wax against the jar wall never gets warm enough to liquefy. That ring of unmelted wax is called a "shoulder," and once it forms, it insulates itself, getting harder and harder to melt with each subsequent burn.
This is not a flaw in the candle. It is physics.
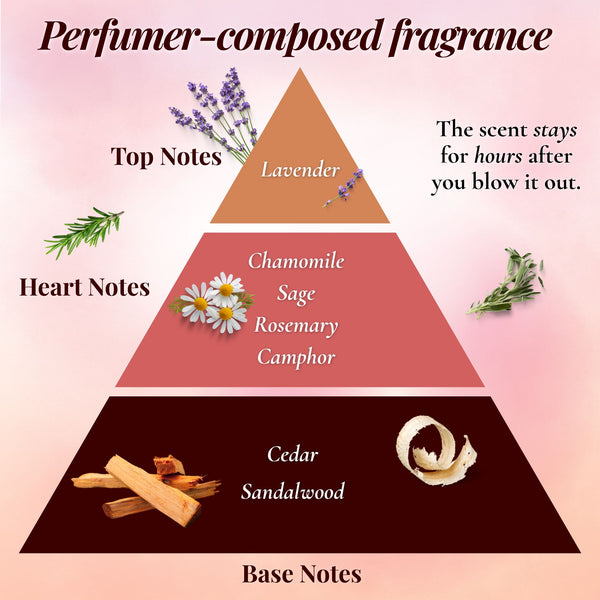
The specific heat capacity of paraffin wax sits around 2.14 to 2.90 joules per gram per degree Celsius, which means it requires a meaningful amount of sustained heat to melt fully. Soy wax has a lower melting point, roughly 46 to 68 degrees Celsius depending on the blend. Beeswax has the highest melting point of any common candle wax, sitting between 62 and 65 degrees Celsius, which is part of why it burns so much longer but also why the first burn is especially critical.
The Three Methods to Fix a Tunneling Candle
Once tunneling has started, you have options. None of them are instant, but all three work if you apply them correctly.
Method 1: The Long Burn
This is the simplest fix and the one you should try first. The goal is to burn the candle long enough in a single session that the heat has time to spread outward and melt the wax shoulders.
The general rule used by candle makers is one hour of burn time per inch of candle diameter. A three inch wide candle needs at least three hours in a single sitting to develop a full melt pool. This is not a suggestion. It is the minimum threshold for the heat to conduct outward far enough to reach the unmelted wax at the edges.
Set a timer. Check the melt pool at the one hour mark. If it has not reached the edges yet, keep going. Do not extinguish the candle until the liquid wax is level and reaches wall to wall. Once it does, you have essentially reset the candle's melt memory.
A few caveats: never burn a candle for more than four hours at a stretch, regardless of size. After four hours, the wick becomes saturated with liquid wax, which makes it harder to control the flame height and can cause excessive soot. Trim the wick to about 6mm before each relight.
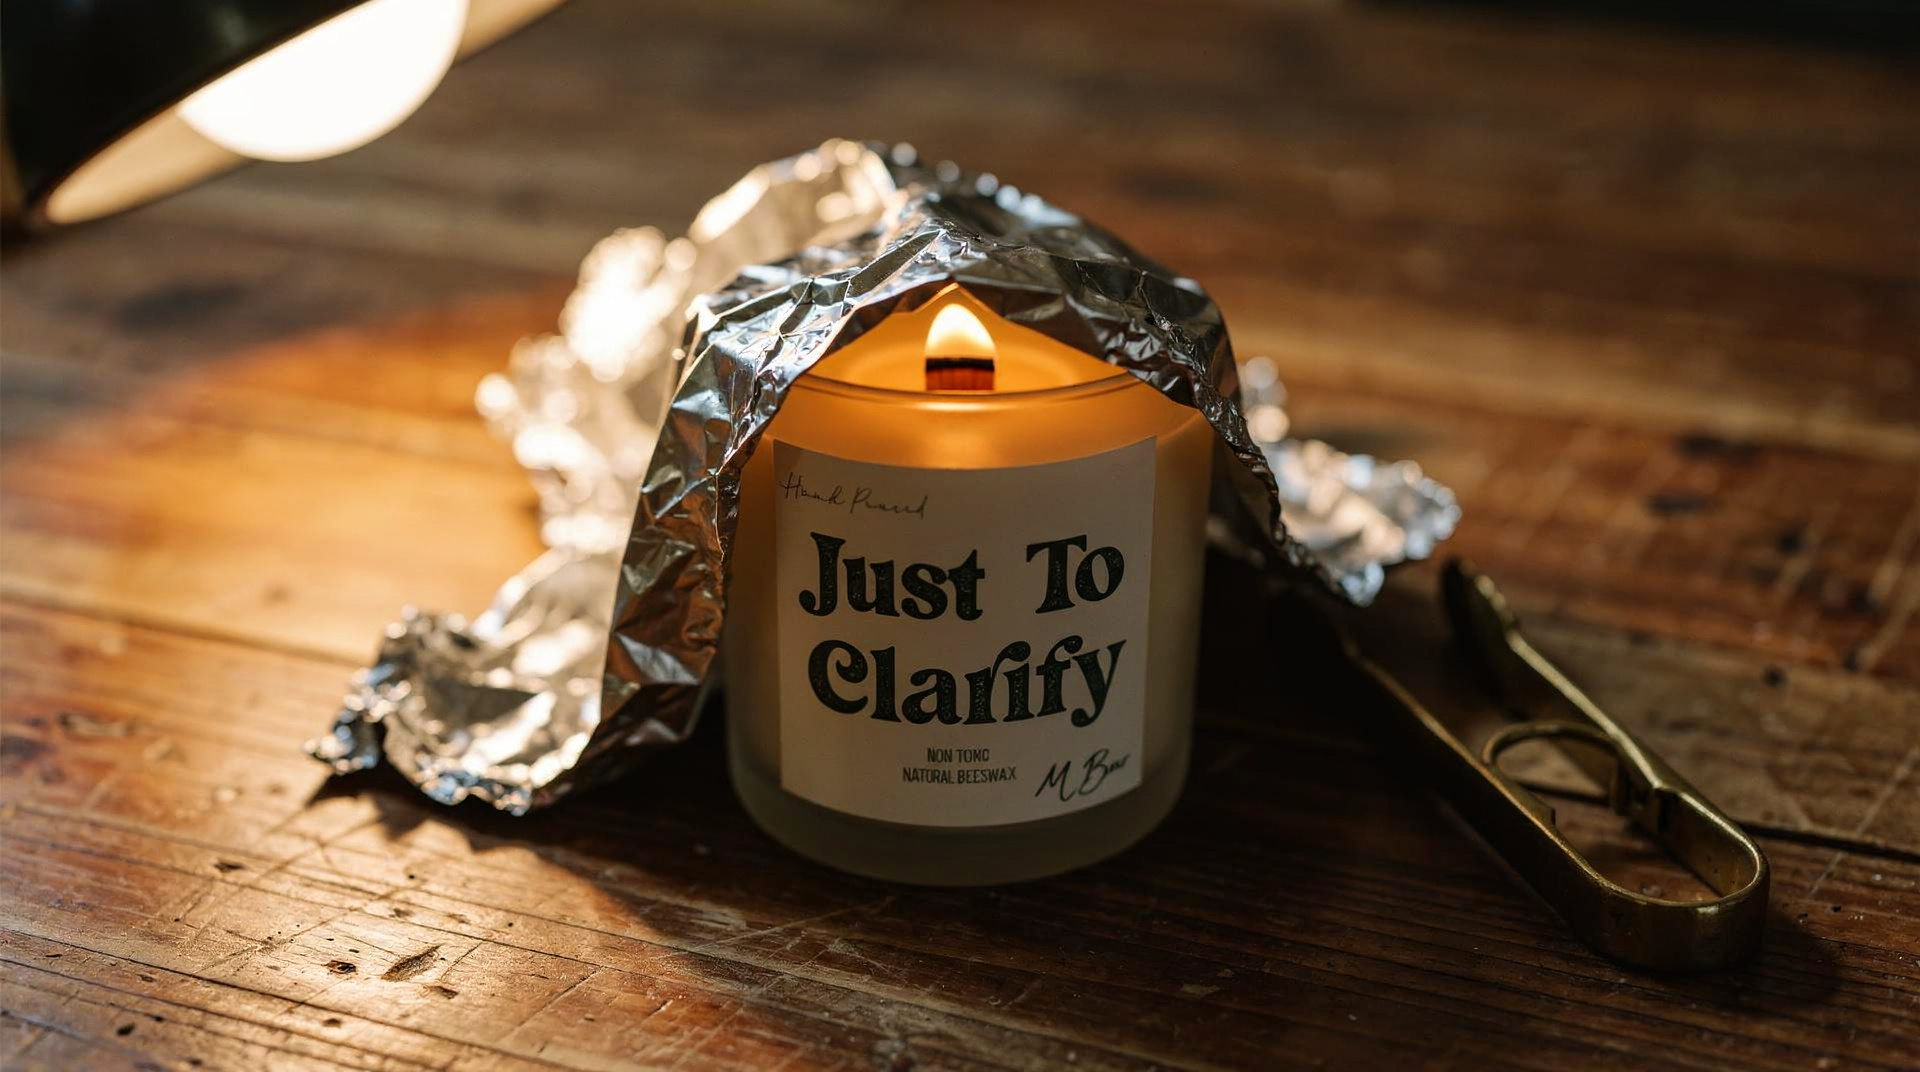
Method 2: The Foil Tent
If the tunnel is already deep, a long burn alone may not generate enough reflected heat to melt those shoulders. The foil tent method traps heat around the top of the candle and forces it to radiate inward.
Take a sheet of aluminum foil and tent it loosely over the top of the candle while it is burning. Leave a small opening in the center, directly above the wick, so the flame gets oxygen and the heat does not build to unsafe levels. The foil acts like a convection oven, bouncing heat back down onto the wax surface and warming the shoulder wax from above.
Check every 30 minutes. Once the melt pool reaches the edges and the wax surface is fully liquid, remove the foil carefully and allow the candle to finish its burn session normally. Do not leave a foil tent unattended, and keep it loose. A tight seal over a burning candle is a fire hazard.
Method 3: The Warm Spoon or Hair Dryer Scrape
For extremely deep tunnels where the wick has nearly disappeared below the wax line, you may need to physically remove some of the shoulder wax before attempting either of the above methods.
Use a spoon warmed under hot water to scoop out the hardened wax from around the tunnel walls. Remove just enough to bring the wax surface closer to level, not all of it. The goal is to reduce the thermal distance the flame has to work against, not to gut the candle entirely.
Alternatively, a hair dryer on a low heat setting can soften the top layer of wax enough to level it out with a spoon or even just by tilting the candle gently. Work slowly. Beeswax in particular responds well to this method because its higher melting point means it softens gradually rather than turning liquid all at once, giving you more control.
Why Wax Type Affects Tunneling Behavior
Not all wax tunnels the same way, and understanding the differences helps you choose the right fix and, more importantly, the right candle to begin with.
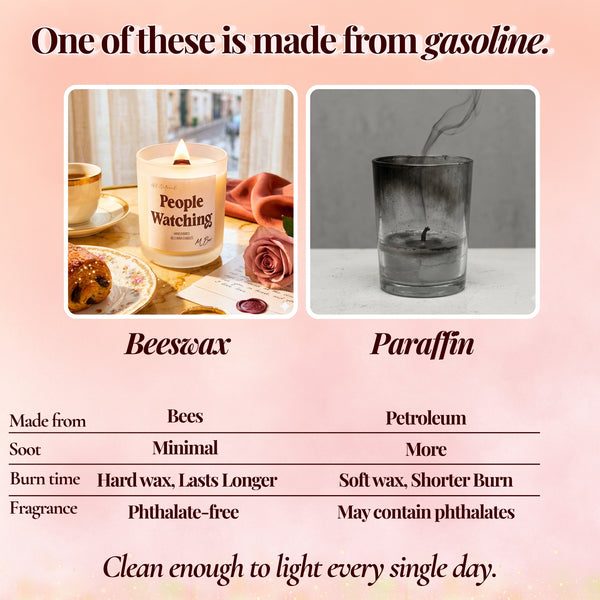
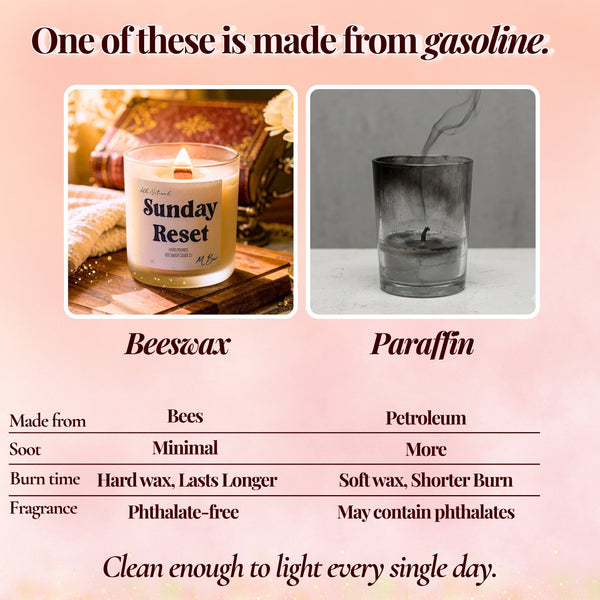
Paraffin Wax
Paraffin is petroleum waste, full stop. It has a low melting point, which sounds like it would make tunneling less likely, but the trade off is that paraffin melt pools are highly sensitive to draft and inconsistent room temperature. A light breeze from an AC vent can cause uneven burning on one side of the candle, which leads to lopsided tunneling rather than the classic center tunnel. Paraffin also produces significantly more soot than plant or animal based waxes, which means tunneling in a paraffin candle also means black residue building up inside the tunnel walls.
Soy Wax
Soy wax has a lower melting point than beeswax, which makes it somewhat more forgiving on short first burns. However, most commercial soy candles are not pure soy. They are blended with paraffin to improve appearance and fragrance throw, which brings the tunneling sensitivity of paraffin right back into the mix. If the label says "soy blend," it almost certainly contains paraffin.
Beeswax
Beeswax has the highest melting point of the three, which means it requires and holds heat longer. A properly burned beeswax candle produces a full, slow melt pool that reaches edges cleanly and solidifies evenly. The flip side is that the first burn really does matter more with beeswax than with other waxes. A cut short first burn on a beeswax candle creates a firm shoulder that is harder to melt than one in soy or paraffin because the surrounding wax is denser and more thermally stable.
The payoff is that beeswax candles that are burned correctly have dramatically longer burn times. At MBur, our 12oz beeswax candles are rated to burn for up to 80 hours, the longest of any standard candle wax, precisely because of that high melting point. But that 80 hours assumes correct burning behavior from the start.
The Habit That Prevents Tunneling Entirely
Everything above is a fix. Here is the prevention.
The single most effective thing you can do is burn a new candle long enough on its first use to achieve a full melt pool that reaches all the way to the edge of the container. That first burn sets the melt memory, and a full edge to edge melt pool on the first session means the candle has a wide, even template to follow for every subsequent burn.
For most jar candles, this means committing two to four hours on the first burn. Not ten minutes while you eat dinner. Not thirty minutes before bed. A proper, uninterrupted session where the wax has time to do what it needs to do.
A few other habits that help:
- Trim the wick to 6mm before every single burn. A wick that is too long produces a larger flame, which burns down faster than it burns outward, encouraging tunneling.
- Keep candles away from drafts. Air movement pushes the flame to one side, causing uneven melting.
- Burn in a room at or near standard room temperature. Cold rooms require more heat to melt the wax edges, which means shorter burns are riskier in winter.
- Do not burn for more than four hours in one session. After that, let the candle cool completely before relighting.
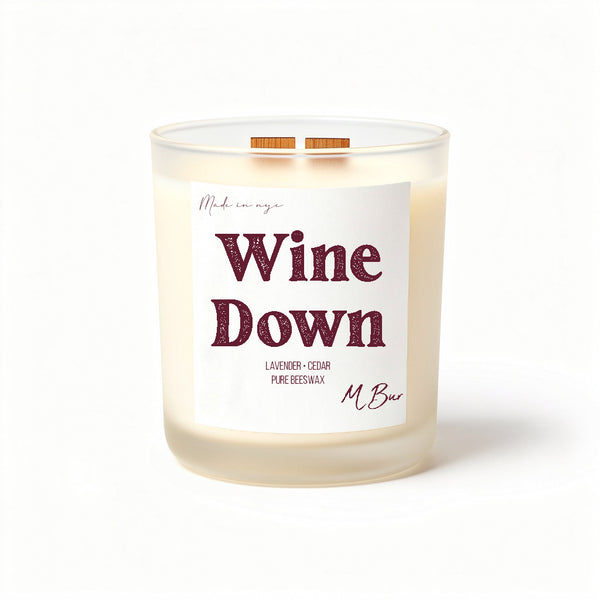
"From the packaging to the burn of the candle, everything was top notch! Candle burned slowly and was exactly the amount of hours the company said it would burn. I was able to enjoy it for days even though it was the smaller size." Portia Darby, Wine Down Candle
That kind of burn experience comes directly from proper first burn behavior.

Wooden Wicks vs. Cotton Wicks and Tunneling Risk
Wick type has a meaningful effect on tunneling tendency that most candle guides skip over entirely.
Cotton wicks, the round braided kind in most mass market candles, tend to curl as they burn. That curl can push the flame off center, which causes uneven melting and increases the risk of tunneling on one side. Cotton wicks also tend to produce more carbon buildup, which mushrooms at the tip and restricts the flame.
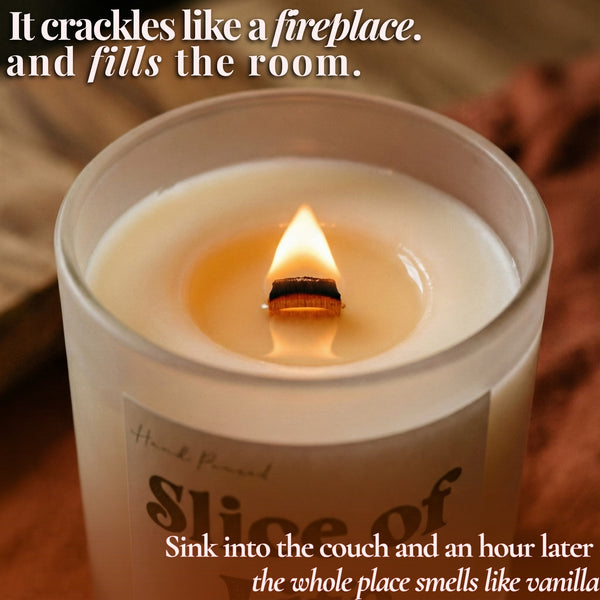
Wooden wicks burn differently. They produce a wide, horizontal flame rather than a tall vertical one, which pushes heat outward across the wax surface rather than straight down. That lateral heat distribution makes them naturally better at melting wax to the edges of the container.
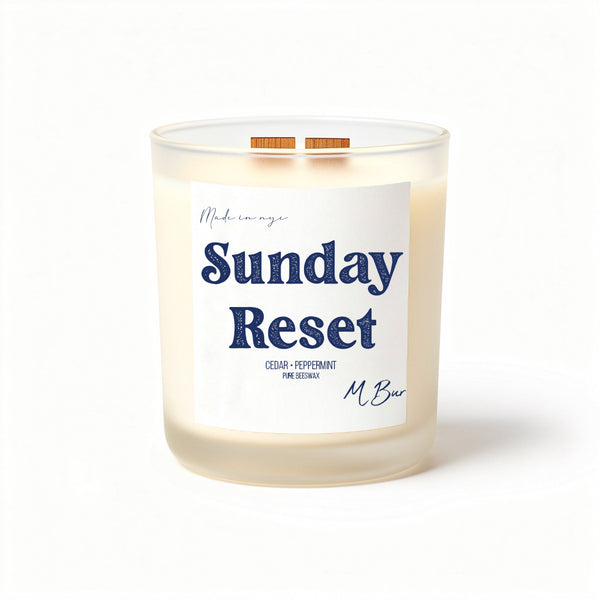
The Sunday Reset beeswax candle is a good example of how wooden wick and beeswax work together. The wide flame keeps the melt pool moving outward, and the density of the beeswax means the melt pool holds its heat longer even after the candle is extinguished, which helps the wax cool evenly rather than contracting unevenly at the edges.
When a Candle Is Too Far Gone to Save
Sometimes the tunnel is too deep, the wick is buried, and the shoulder wax is so thick that no practical fix will salvage it as a functional candle. That does not mean the wax has to go to waste.
Scoop out the remaining wax and use it in a wax warmer or melt tray. The fragrance is still fully intact even if the candle cannot burn safely anymore. For beeswax specifically, the leftover wax can also be used to condition leather, lubricate drawer runners, or wax zippers.
Frequently Asked Questions
How long should I burn a new candle the first time?
At least one hour per inch of candle diameter, until the melt pool reaches the edge of the container. For a three inch wide candle, that means a minimum of three hours on the first burn. Cutting it short sets a tunnel template that is very hard to undo later.
Can I fix a candle that has already tunneled badly?
Yes, in most cases. Try the foil tent method first, which traps reflected heat over the wax surface and helps melt the shoulder wax over a long burn session. For very deep tunnels, remove some of the hardened shoulder wax with a warm spoon before attempting the foil tent. Most tunneled candles can be fully rescued with one or two corrective burn sessions.
Does beeswax tunnel more or less than soy or paraffin?
Beeswax has a higher melting point, which means a short first burn creates a firmer shoulder than soy or paraffin would. But a properly burned beeswax candle is also more resistant to tunneling from drafts and uneven room temperature because the denser wax holds heat more consistently. The first burn is simply more important with beeswax than with other wax types.
Why does my candle tunnel even when I burn it for hours?
The most common causes are a wick that is too short (trim to 6mm before each burn), a draft in the room pushing the flame off center, or a candle that was tunneled from its very first burn and has a deeply set melt memory. The foil tent method is the best fix for this scenario.
Does trimming the wick actually make a difference for tunneling?
Yes, and it is probably the most underrated candle care habit. A wick that is too long produces a taller, hotter flame that burns down the center faster than it melts outward. Keeping the wick at 6mm creates a controlled flame that burns more horizontally, giving the heat time to spread to the edges before the candle goes deep.
The Bottom Line
Tunneling is not bad luck and it is not a defective candle. It is the predictable result of thermal physics applied to wax, and it is almost entirely within your control. The first burn is the only one that really sets the rules, so treat it accordingly. Give your candle the time it needs to reach the edges, keep the wick trimmed, and stay out of drafty rooms. If tunneling has already started, the foil tent and the long burn method will fix the majority of cases in one or two sessions.
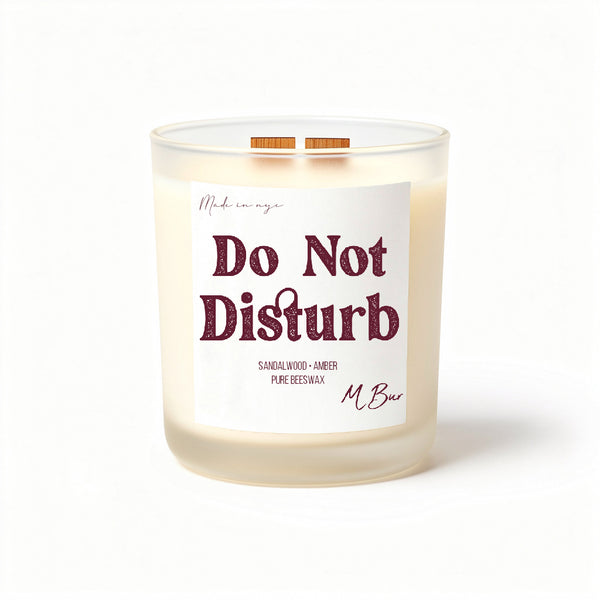
If you want a candle that works with you rather than against you, the combination of beeswax and a wooden wick is genuinely the best foundation for an even, full burn. The Do Not Disturb beeswax candle, starting at $32 for the 20 hour size, is a good place to start.
Shop the full MBur beeswax candle collection
What buyers say:
Related reading:
Shop our candles