

How to Draw a Candle for Kids: An Easy Step-by-Step Guide
Handing a kid a blank sheet of paper and asking them to draw a candle usually ends one of two ways: a lopsided blob with a scribble on top, or a frustrated "I can't do it." The problem is not that your kid can't draw. It is that most candle drawings skip the part where you break the shape down into pieces small enough for little hands to manage.
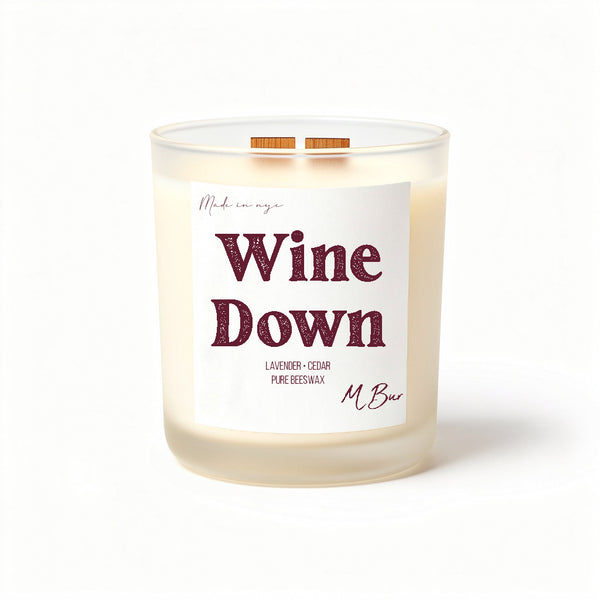
Once you start with a couple of basic shapes and light pencil guidelines, a candle becomes one of the easiest things a beginner can draw. This guide walks through the whole thing in six steps, takes about fifteen to twenty minutes, and works for kids from around age five on up. If the drawing session leaves you wanting the real thing crackling on the table, our full beeswax candle collection is right here when you need it.

Why Kids Struggle With Drawing a Candle
A candle looks simple to an adult, so we assume it is simple for a child. But a burning candle actually has four separate parts working together: the body, the wick, the inner flame, and the outer flame. Kids who try to draw all of it at once end up overwhelmed.
The other common trap is starting with a marker. Once ink hits the page, there is no fixing the proportions, so a body that came out too skinny or a flame that landed off center is stuck there. That is where the "I ruined it" tears come from.
The fix is to build the drawing in layers with a pencil first. Light guidelines let a kid nudge the shapes around until they look right, then commit with a marker only at the end. Art educators call this using construction shapes, and it is the single biggest thing that separates a confident young artist from a frustrated one.
What You Will Need
- A standard pencil with a good eraser (the eraser matters more than the pencil)
- A sheet of plain drawing paper
- A black marker or fine tip pen for outlining
- Crayons, markers, colored pencils, or oil pastels for color
That is the whole supply list. You do not need anything fancy, and you definitely do not need your kid to master 3D shading. Simple 2D cartoon outlines with bold lines and bright color are far more engaging for young beginners than realism.
How to Draw a Candle for Kids: 6 Easy Steps
Step 1: Draw the body
Start with a tall rectangle or a slightly curved cylinder for the candle body. Draw two vertical lines going down, then connect them at the bottom with a small flare so the candle looks like it is sitting solidly on a surface. A tiny flare at the base keeps the candle from looking stiff and lifeless.
Step 2: Add the top
Cap the top of the body with a shallow oval or a flat curved line. This is the rim where the wax pools. Keeping it slightly rounded rather than a hard flat edge makes the whole candle feel more real right away.

Step 3: Draw the wick
In the center of the top oval, draw one short vertical line. That is the wick. Keep it thin and small, because a fat wick makes the flame look off balance in the next step.
Step 4: Add the flame
Above the wick, draw a teardrop or pointed oval shape. This is the outer flame. Then, inside it, draw a smaller version of the same shape sitting near the bottom. A good rule of thumb is that the inner flame should be about a quarter the size of the outer one. Those two layers are what make a flame read as glowing light instead of a flat orange spike.
Step 5: Add drips and texture
Here is the detail kids love most. Draw a few wavy lines running down from the top rim to look like melting wax drips. Add a couple of light vertical lines down the body for texture. This is also the moment to turn the candle into a cute cartoon character: two googly eyes and a little smile right on the wax body, maybe rosy cheeks, and suddenly it is a kawaii candle with personality.
Step 6: Outline and color
Once the pencil sketch looks right, trace over the lines you want to keep with a black marker, then erase the leftover pencil guidelines. Color the body in any bright shade, and color the flame with at least two tones: yellow or orange for the outer flame, and a warmer or lighter glow for the inner one. Layering flame colors is the difference between a flame that looks lit and one that looks like a sticker.
Common Mistakes to Avoid
The three things that trip kids up most are easy to head off. First, skipping the pencil and going straight to marker leaves no room to fix proportions, so always sketch first. Second, drawing the body with perfectly rigid straight lines and no drips makes the candle look stiff, so add a little organic wobble. Third, coloring the flame one flat color makes it look dead, so encourage those two flame tones.
Fifteen minutes, six steps, and your kid walks away with a candle they are actually proud of. It is a great rainy afternoon project, and it makes a sweet homemade card front for a birthday or a holiday.

From Drawing the Candle to Burning One
Part of what makes a real candle worth drawing is watching one flicker in the room while you work. A gentle wooden wick candle gives you that soft crackle and warm light without filling the space with anything harsh, which matters when little ones are nearby. Something calm and clean like our Do Not Disturb candle (available in the 20 hour size at $20 up to the 80 hour size at $65) sets the mood for a quiet, focused art session.
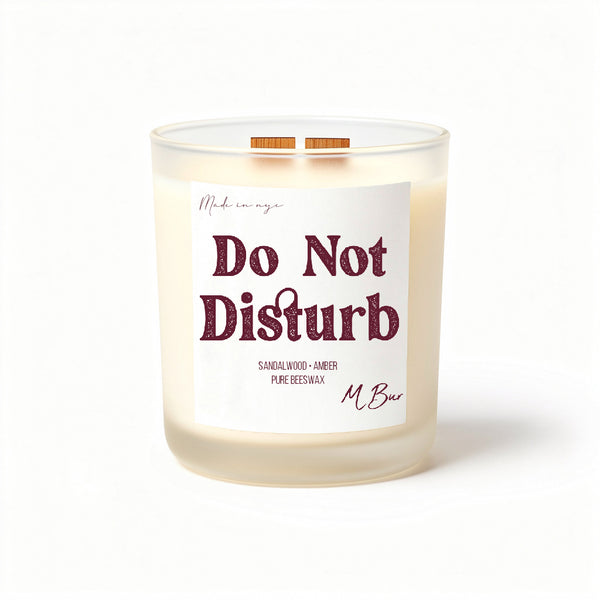
MBur candles are made from 100% beeswax with wooden wicks, no chemical dyes, and non toxic, phthalate free fragrance, all handmade in Queens, New York. Beeswax burns cleaner than paraffin, so you get the cozy glow without the soot on the walls. Customers keep coming back for exactly that reason.
"I love the scent of this candle. It is lovely not overpowering. It's soothing fragrance more than covers my bedroom and bathroom. It is aromatherapy at its best. I also love getting fragrance samples with my order." Dawne Forrest, on Do Not Disturb
Across dozens of reviews, families reach for beeswax because it keeps a home smelling good without the headaches. If you want a lighter, brighter scent to keep the creative energy up, take a look at the whole lineup and pick whatever suits the day.
The Takeaway
Drawing a candle stops being frustrating the moment you break it into a body, a wick, and a two layer flame, and let a kid sketch it in pencil before committing to color. Six steps, one afternoon, one proud little artist. When you want the real glow to go with the artwork, start with our full beeswax candle collection, rated five stars across more than fifty reviews from families who won't burn anything else.
Related reading

