

How to Form a Candle: The Ultimate Guide from Wax to Wick
Your first homemade candle tunneled down the middle, left a ring of wasted wax stuck to the glass, and barely smelled like anything once it was lit. That is the most common problem people hit when they learn how to form a candle, and it almost always comes down to three things: the wax you chose, the wick size, and the temperature at each step. Get those right and the whole thing works. Get one wrong and you get sinkholes, weak scent, and a flame that gutters out.
This guide walks through the full candle making process from raw wax to trimmed wick, with the numbers that actually matter. And if you read all of it and decide you would rather skip the trial and error, you can always browse our full beeswax candle collection, which we hand pour in small batches in Queens, New York.

What "forming a candle" actually means
Forming a candle is the process of turning solid wax into a stable, even burning finished candle. It sounds simple. Melt, pour, done. But every step has a temperature window and a measurement, and skipping the precision is why so many first attempts fail.
The global candle market sits around $15 billion and keeps growing near 7 percent a year, so plenty of people are attempting this at home. The ones who succeed treat it less like a craft project and more like a recipe you weigh in grams.
Why your candle came out wrong
Three culprits cause almost every beeswax candle formation failure, so let us name them before we fix them.
The wick was the wrong size
A wick that is too small tunnels, meaning the flame melts a narrow well down the center and leaves a thick wall of unused wax. A wick that is too large smokes, sputters, and burns through the candle fast. Wick size has to match the diameter of your container, and it has to be untreated 100 percent cotton or a properly sized wood wick. Random string does not work, and synthetic thread is a fire risk.
The temperature was off
Being off by even 5 to 10 degrees at the wrong moment ruins a batch. Pour too hot and you get sinkholes, cracks, and fragrance that evaporates before it ever binds. Pour too cold and you get air bubbles, a rough lumpy top, and wax that pulls away from the glass.
You rushed the cure
Wax and fragrance oil need time to bind. Burn a candle the day after you pour it and the scent throw will be weak no matter how much oil you added. Patience is a real ingredient here.

How to form a candle, step by step
Here is the workflow experts use. The numbers below reference soy wax, since that is the most common beginner material. Beeswax runs hotter, which I will cover after.
- Weigh your wax. Use a digital scale in grams or ounces, never measure by volume. To estimate how much you need, multiply your jar's fluid ounce capacity by 0.8. A 10 ounce jar needs roughly 8 ounces of wax.
- Melt with a double boiler. Set a stainless steel or glass pouring pitcher inside a pot of simmering water for gentle, indirect heat. Bring soy wax to 170 to 185 degrees Fahrenheit until fully liquid.
- Secure the wick. Center an untreated cotton or wood wick in a clean, dry container and stick it to the base. A dab of hot wax works to anchor it. Keep it straight and centered.
- Add fragrance at the right temp. Let the wax cool to 155 to 165 degrees, then stir in your fragrance oil at 6 to 10 percent of the wax weight. Stir for a full two minutes so it binds properly.
- Pour slow. Let the wax drop to 120 to 140 degrees, then pour steadily into the jar. Pre warming your jar helps prevent that rough, cratered top.
- Cure it. Let the candle rest at least 7 days, ideally 10 to 12, before the first burn. This is where the scent throw comes from.
- Trim the wick. Before lighting, trim to about a quarter inch. Every time.
One warning worth repeating: do not press dried flowers or loose botanicals into the top of a candle near the wick. They look pretty and they catch fire. If you want decoration, keep it well away from the flame path or skip it entirely.
Beeswax runs by different rules
If you want the cleanest burn possible, beeswax is the material to reach for, and it has been used for candles since roughly 5,000 BCE. It has the highest melting point of any candle wax, which is exactly why beeswax candles burn longer than soy or paraffin. That higher melting point also means you work it hotter and it is less forgiving than soy, so most beginners start with soy and graduate to beeswax later.
Beeswax has a few things going for it that no amount of DIY skill can add to a soy candle. It is a single ingredient wax that is a byproduct of honey production, so it supports beekeeping. It does not leave the black soot on your walls that paraffin does. And its flame gives off a warm light spectrum close to natural sunlight.
"I absolutely love these candles! I instantly notice the difference in the air quality, in comparison to the Bath and Body scented candles. I love Bath and Body's candles but I acknowledge that it caused a slight headache and other minor respiratory discomfort. Awesome products. Totally addicted." Jason H.
That headache difference matters, and it is worth understanding why. Paraffin is a petroleum byproduct that releases benzene, toluene, and formaldehyde as it burns. Many candles also use toxic fragrances containing phthalates and parabens. When you form a candle at home, you control your wax, but you also have to vet your fragrance oil carefully. A lot of the cheap oils sold for candle making are exactly the ones people react to.

The cleaner shortcut when DIY gets frustrating
Forming a candle that burns evenly and actually fills a room takes practice, the right wick math, and a week of patience per batch. If that sounds like more project than you signed up for, this is where buying a candle that already checks every box makes sense.
Here is the checklist for a clean, well formed candle, whether you make it or buy it:
- Single ingredient wax, ideally 100 percent beeswax, not a beeswax blend that is mostly paraffin
- An untreated cotton wick or a wood wick, never a metal core wick
- Non toxic, phthalate free fragrance oil
- No chemical dyes
- A proper cure so the scent throw is strong
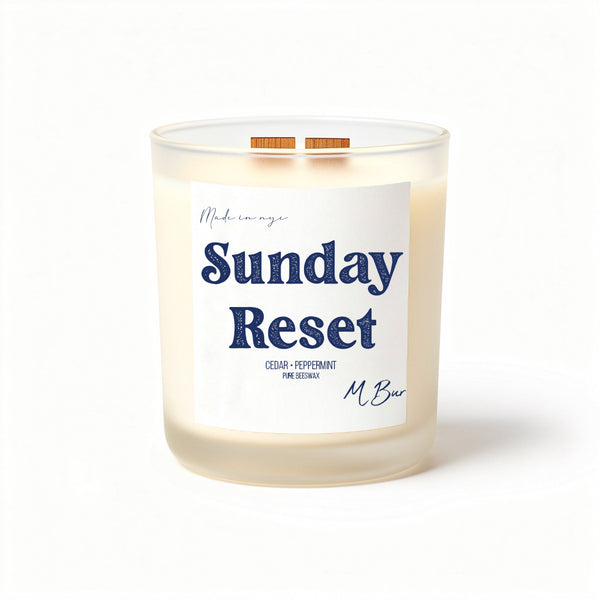
MBur checks every one of these. Our candles are 100 percent beeswax with wooden wicks that crackle a little as they burn, phthalate free fragrance, no chemical dyes, and they are naturally hypoallergenic. The 80 hour size burns longer than just about anything you could pour yourself, thanks to that high beeswax melting point.
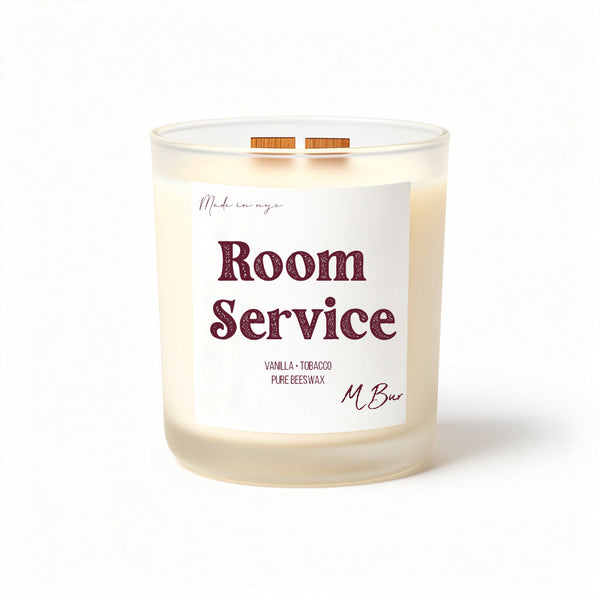
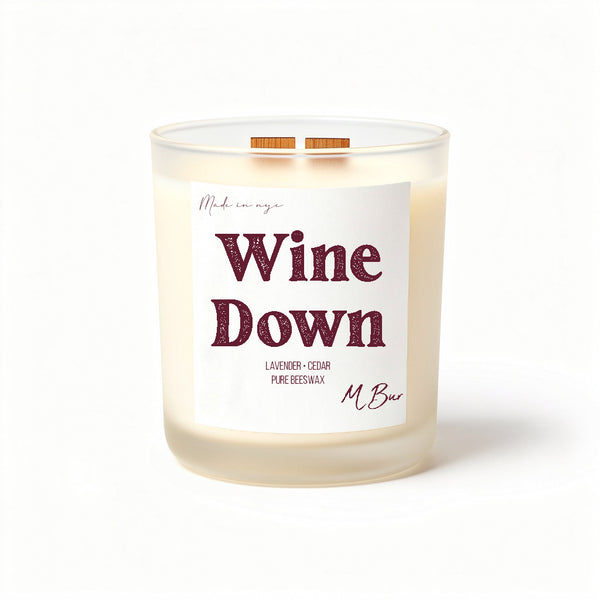
If you want a place to start, Room Service is our bestseller, with notes of saffron, white tea leaves, purple peonies, orchid, tobacco, vanilla, almond milk, and tonka bean. It runs from a 20 hour size at $20 up to an 80 hour size at $65. For something calmer at the end of the day, Wine Down layers lavender, chamomile, sage, rosemary, camphor, cedar, and sandalwood.
Frequently asked questions
What is the best wax for beginners to form a candle?
Soy wax is the friendliest starting point because it melts at a lower temperature, cleans up easily, and pours smoothly. Beeswax burns cleaner and longer but is less forgiving to work with. If you want the beeswax result without the learning curve, our beeswax candle collection is already poured and cured for you.
How do I calculate how much wax and fragrance oil I need?
Multiply your jar's fluid ounce capacity by 0.8 to get your wax weight, then add fragrance oil at 6 to 10 percent of that wax weight. A 10 ounce jar needs about 8 ounces of wax and roughly half an ounce of fragrance.
Why does my homemade candle have a rough or uneven top?
Sinkholes and frosting usually mean the wax cooled too fast or was poured at the wrong temperature. Pour a little warmer and pre heat your jars to smooth it out. If you would rather not fight cratered tops, every candle in our collection pours clean.
How long do I need to cure a candle before burning it?
Soy and paraffin candles usually need 3 to 7 days, and heavy fragrance loads can take up to two weeks. Beeswax benefits from a rest too. This binding time is what gives you a strong scent throw once it is lit.
Do these candles trigger headaches like other candles?
Reactions vary by person and depend heavily on the wax and fragrance used. Paraffin and toxic fragrances containing phthalates are the usual culprits, so a clean burning beeswax candle with phthalate free fragrance is less likely to irritate. If you have a diagnosed respiratory condition, follow your doctor's guidance.
The takeaway
Forming a candle well comes down to matching your wick to your jar, hitting the right temperature at every step, and giving it a week to cure. Nail those and you get an even burn with real scent throw. If the trial and error is not your idea of a good weekend, MBur has done the hard part already with 100 percent beeswax, wooden wicks, and clean fragrance, backed by dozens of five star reviews from people who switched and never looked back. Start with our full beeswax candle collection and find your scent.
Related reading

